Beginning at the main screen, select Admin, then Organization from the drop down.
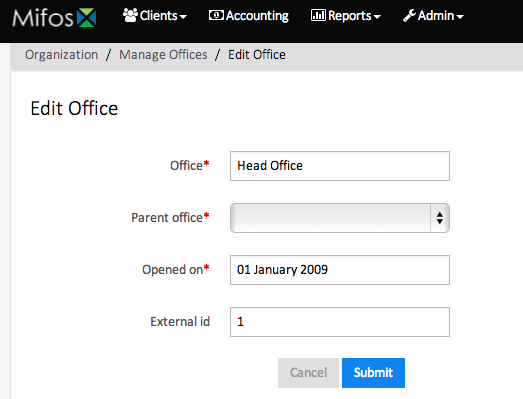
Using the information gathered in the Pre Configuration Plan.docx, the first step is to create the Main Office of your organization. In this example, we use the name "Head Office." You enter the name that best describes your office name. This may be a building name, a road name or any other naming scheme your particular organization uses.
In the Office field, enter your main office name
In Parent Office, do not enter a name
In the Opened on field, enter the date your organization opened this office
In the External ID field, enter any numeric identifier your organization may use to further identify your offices. This is an optional field provided for your unique customization. It is not required for effective Mifos functionality.
Review the information entered and if it is all correct, click on the Submit button. The head office is now created.
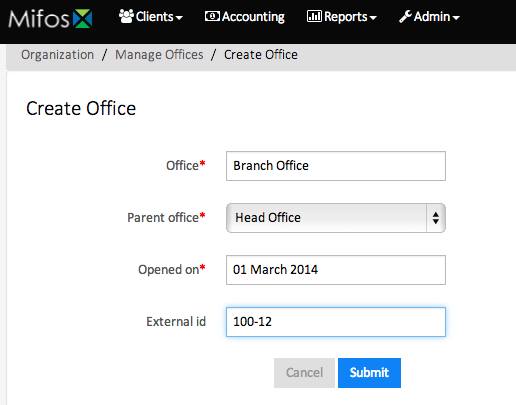
If your organization has multiple offices, return to the Admin/Organization/Manage Offices screen and select +Create Office. In this example, we use the name "Branch Office." You will enter the name that best describes your additional office name.
In the Office field, enter your additional office name
In Parent Office field, the name of your Head Office will default. If your organization uses regional offices, multiple office names will appear in the drop down and you will select the regional office this newly created office falls under.
In the Opened on field, enter the date your organization opened this office
In the External ID field, enter any numeric identifier your organization may use to further identify your offices. This is an optional field provided for your unique customization. It is not required for effective Mifos functionality. In this example, we used a numeric identifier for this office
Review the information entered and if it is all correct, click on the Submit button. The additional office is now created.
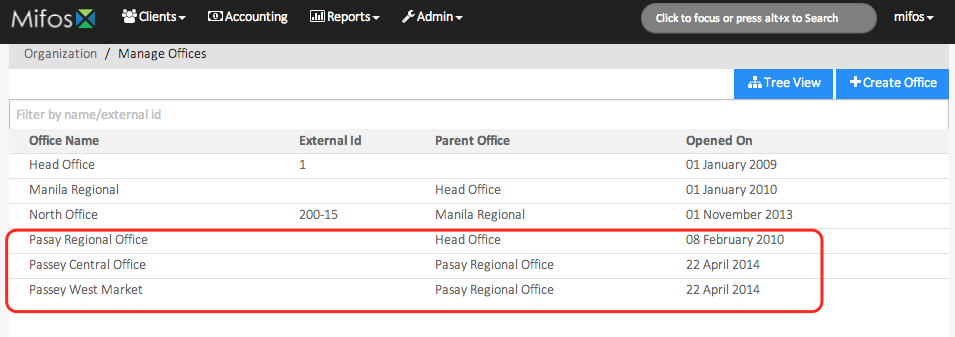
NOTE: It is best to set up your head office first. Then set up any regional offices. Finally set up the individual branch offices taking care to link them to the correct regional or Parent office.
After the offices are set up, the full list will appear on the Admin/Organization/Manage Offices screen.
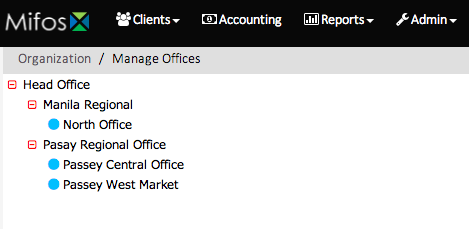
The offices may also be viewed in a Tree View.
| Panel | ||||||||
|---|---|---|---|---|---|---|---|---|
On this page:
|
Related articles
| Filter by label (Content by label) | ||||||||||||||||
|---|---|---|---|---|---|---|---|---|---|---|---|---|---|---|---|---|
|