Mifos X users can easily create loan products for their clients , and also do accounting with the provided features. The features can be easily enabled with some in a few steps. The inputs are also highly modifiablecustomizable.
Creating Loan Product
Before you start
Firstly, you will have to enable the module that allows you to add dates to your inputs by using these steps:
- Go to admin Admin → System.
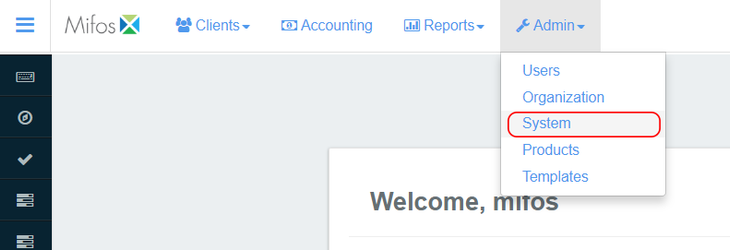
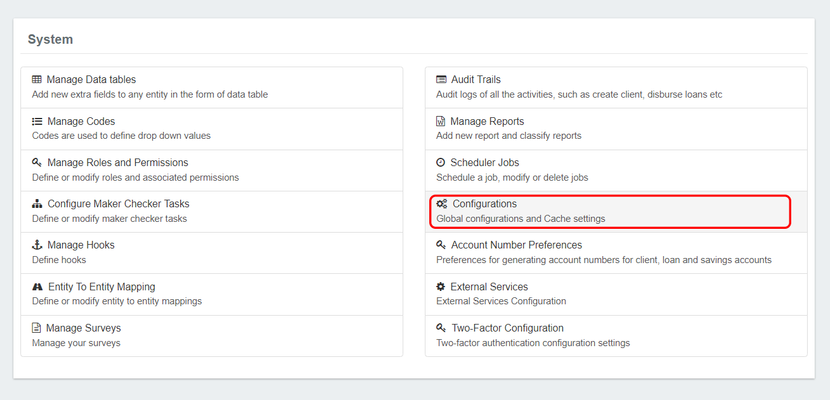
- Select the Configuration Configurations menu.
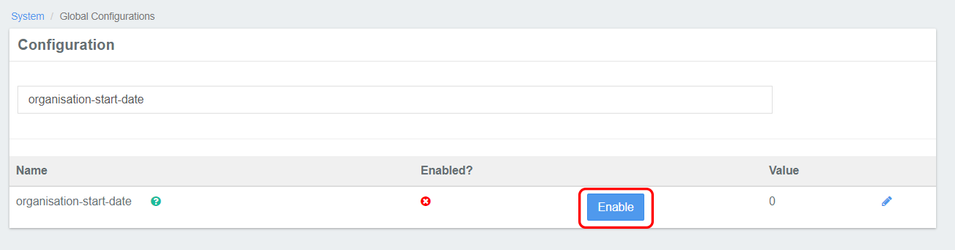
- Search for the "organisation-start-date" menu by typing it in the search bar given. Mifos X will automatically filter the options based on what you type in the search bar.

- You can now enable it by clicking the blue "Enable" button next to it.
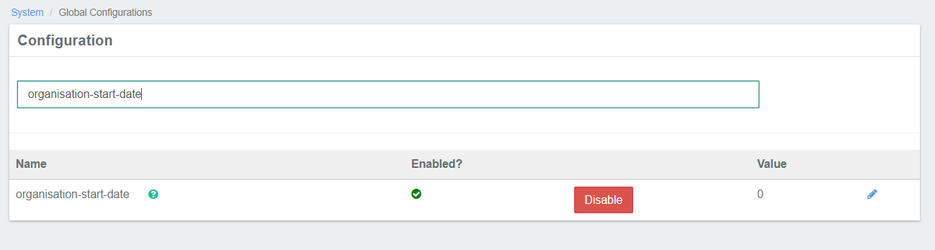
- Once it has been enabled, a red "Disable" button is displayed next to it.
Create your first loan product
...
- Go to Admin → Products from the top menu bar.
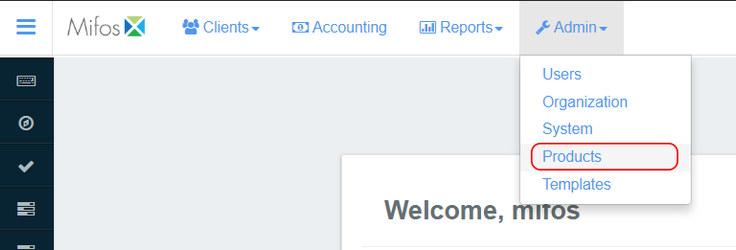
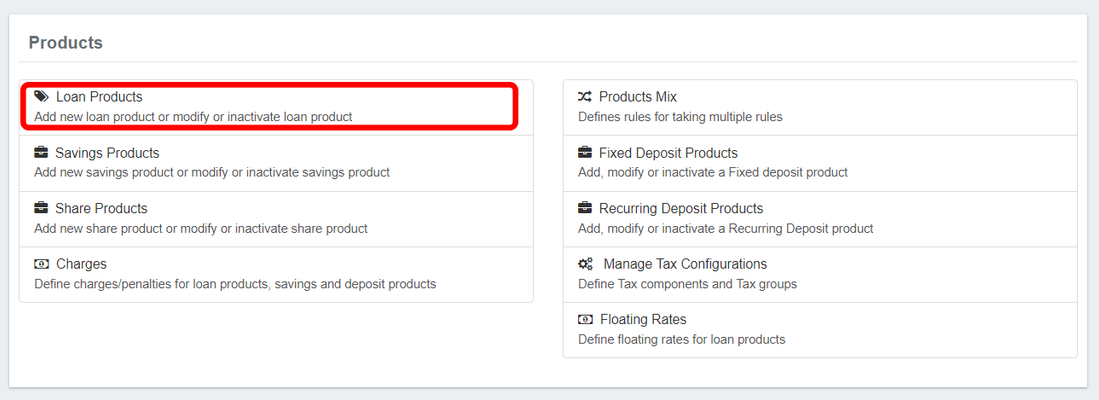
- Here, you can create some products you want. For this instance, you can create loan product with the option.After you have selected the loan producta variety of products (Loan Products, Savings Products, Share Products, etc.). In this example, we will be creating a loan product. Click on "Loan Products".
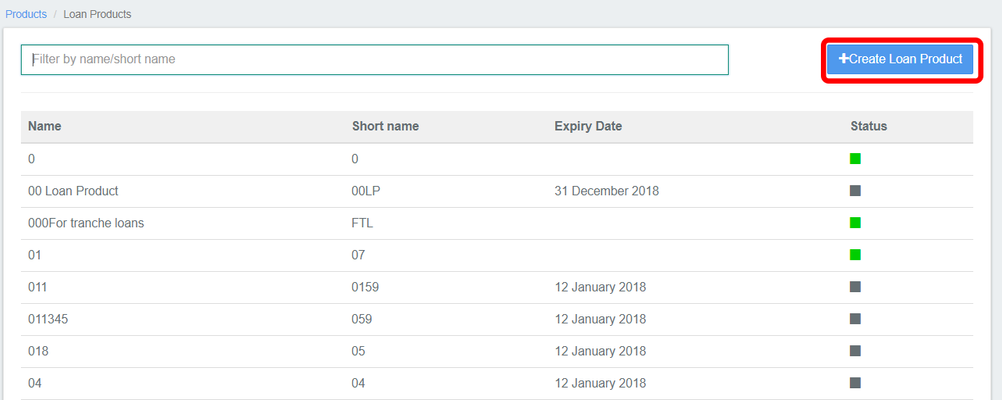
- After clicking on Loan Product, you can make a new one by pressing clicking on the blue "Create Loan Product" button.
- Here Now, you can create your own first loan product with your own configurations. Fill in the fields as per your chosen configurations (NOTE: Fields marked with a red asterisk "*" are mandatory).
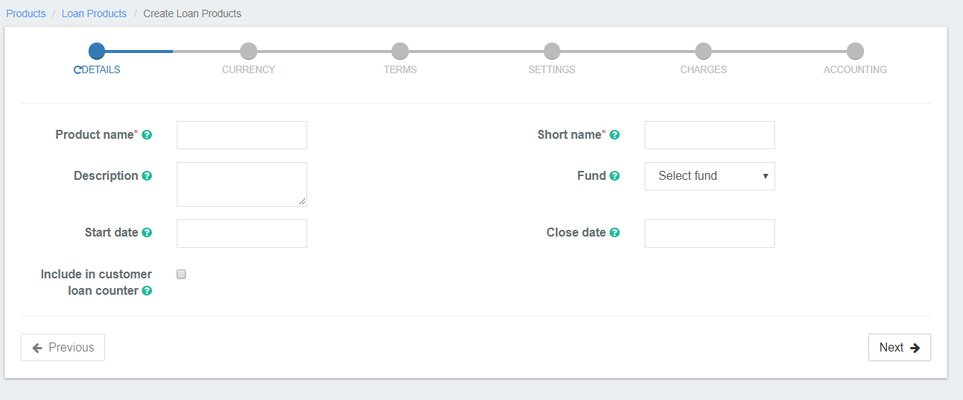
- You can also enable the accounting Accounting function at the end of the procedure (optional).
Creating loan product for your clients
...
After creating your loan product, you can add it directly into your client's data. You can To do so, follow these steps for the guidance:
- Go to Clients → Clients Clients from the top menu.
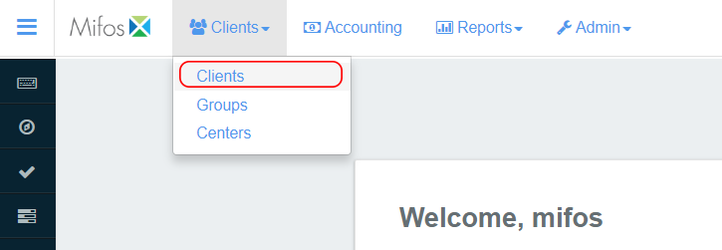
- Select the client Client you want the loan product to be added to (for this example, we are selecting Harris P.).
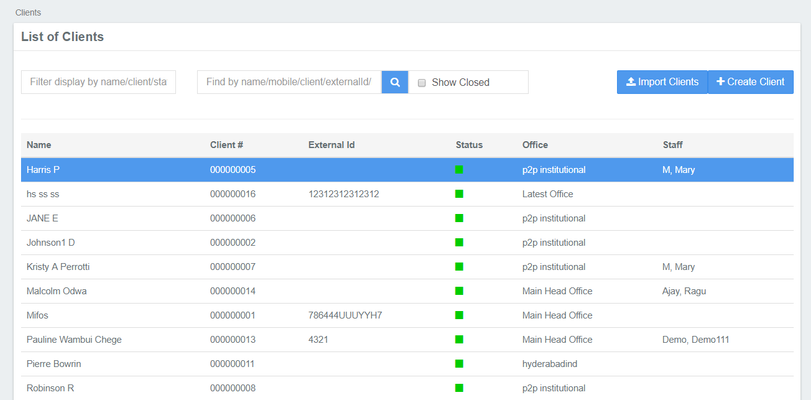
- Here, you can see their loan account overview.
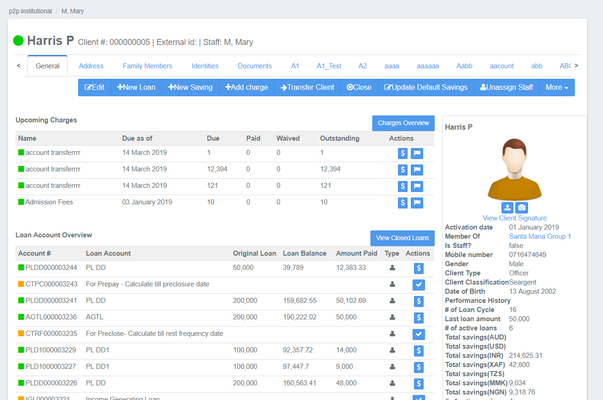
- You can add a new loan product into your client's data by clicking on the blue "New Loan" button on the top of the page.
- Now select the loan product you want from the drop-down menu.
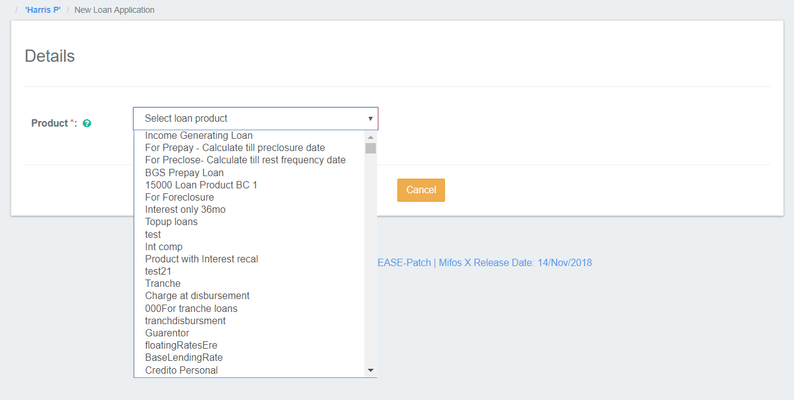
- Configure it as you want and finish with by clicking on the "ProceedsProceed" button.
Now you just have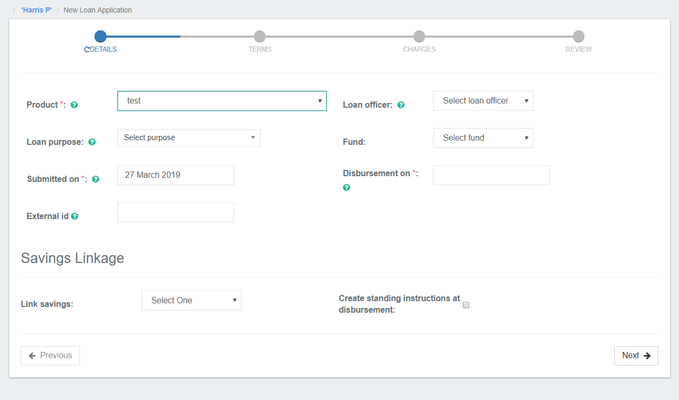
- Once you are done with the above steps, all that's left is to approve the loan product you want wish to add.
Making repayments for your client's loan product
...
To add repayments for your client's loan product, you can do follow these steps:
- Go to your client's data once more , by navigating to Clients → Clients → Clients from the top bar and clicking on your client's dataname.
- The loan account you want wish to repay for, have add a repayment for has to be accepted and disbursed first.
- Select the loan product you want to repay then and click on the dollar sign to make the repayment.
- Fill in the required details needed.
- When it's successfulOnce the repayment is added successfully, it will show the be shown on the client's repayments list.
Rescheduling the client's loan account
...
You can also reschedule the client's loan account by going to more More → reschedule Reschedule in your client's loan account selections.
...