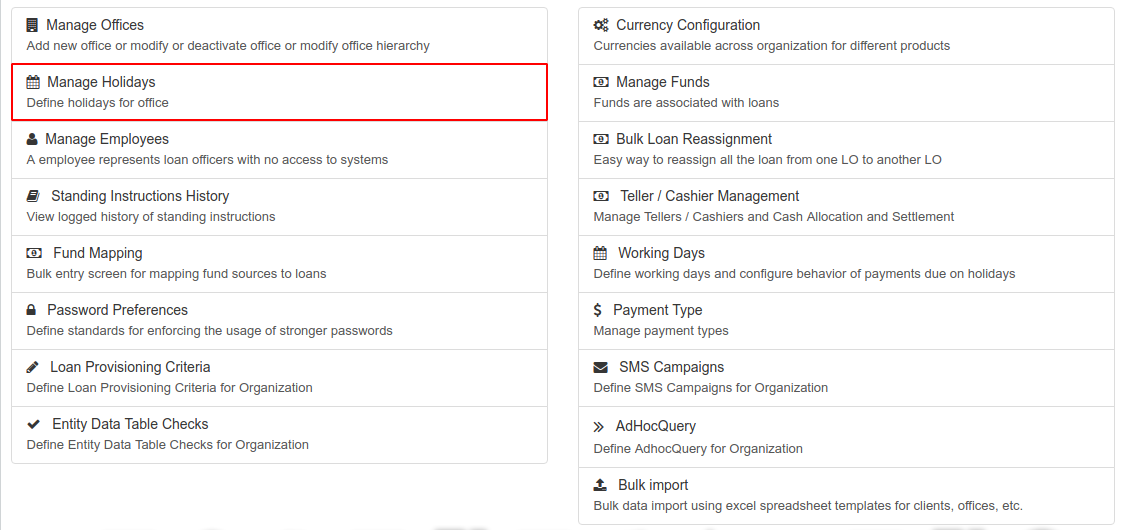
From the main screen, click on Admin then Organization from the drop down list. This will launch the Organization menu.
Select Manage Holidays.
Add Holidays
Create new holidays for each office in your organization.
Click the blue Create Holiday button at the top-right of the screen: .This will launch a new page:
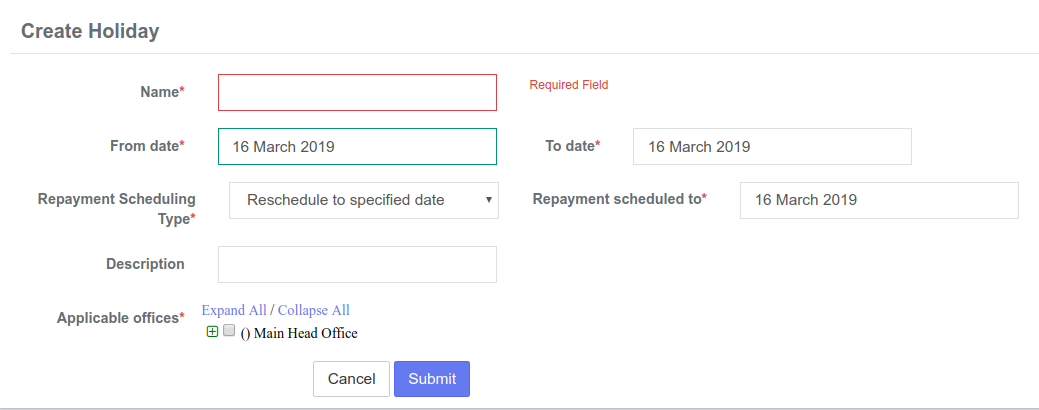
Complete the required fields:
- Name
- From Date
- To Date
- Repayment scheduling Type
- Repayment scheduled to
- A Description is not required, but is an available option. You may also Edit this holiday at another time to add or edit the description.
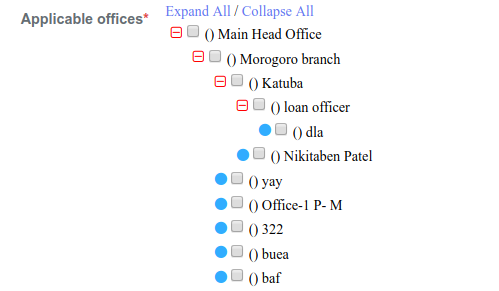
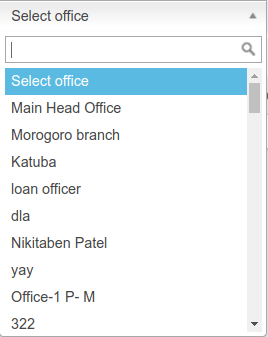
Select the office(s) the holiday applies to by clicking on the small '+' icon beside Applicable Offices . This will open a list of offices for you to choose from. Check the boxes to mark the office(s) you would like to include.
Click Submit.
View Holidays
Once you have selected Manage Holidays, a chart of all holidays will be displayed. The following information will be displayed:
- Holiday Name
- Start Date
- End Date
- Alternate working day
- Status - Active or Deleted
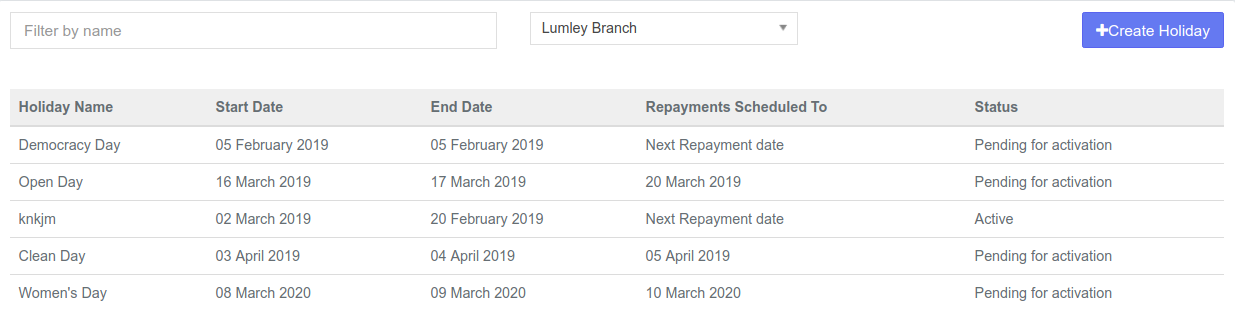
Tip: Use the Filter by Name field to locate the holiday you are searching for. Begin typing the holiday name and Mifos X will filter the results.
You may also filter holiday results by using the drop-down menu at the center of the Manage Holidays screen to select an office:
Edit/Delete Holiday
Click on a holiday in the list to open it's profile:

Click on the blue Edit button at the top-right of the page. This will launch a page where you can change the name of a holiday. You may also add or change a description of the chosen holiday.
To Delete this holiday:
- Click the red Delete button at the top-right of the screen.
- Click Confirm.
Related articles
| Filter by label (Content by label) | |
|---|---|
|
|