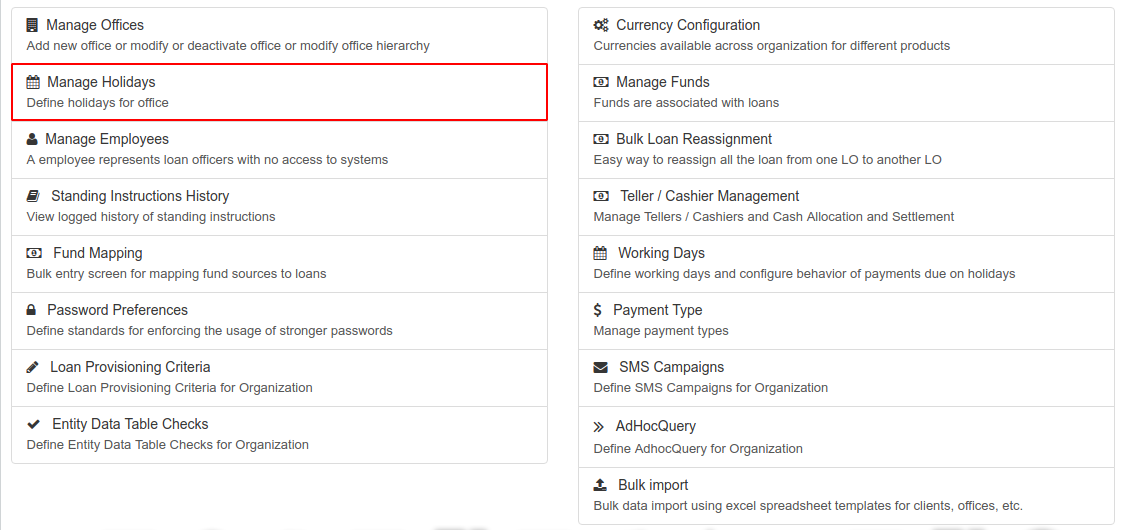
From the Welcome Page, click on Admin, and click on Organization from the drop-down list that pops up. This will launch the Organization menu (as shown in the screenshot below).
From this menu, select Manage Holidays. This will display the following:
Add Holidays
This option allows you to create new holidays for each office in your organization.
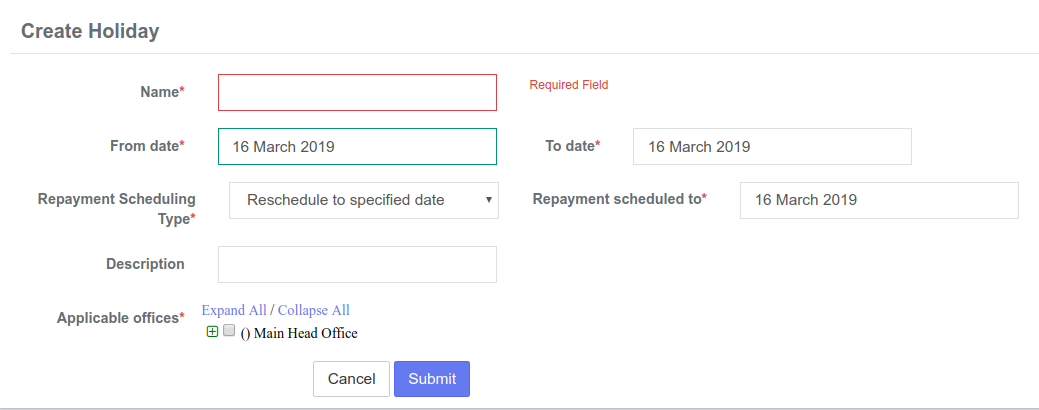
- Click the blue Create Holiday button at the top-right of the screen: .This will launch a new page:
- Fill the required fields:
- Name
- From Date
- To Date
- Repayment Scheduling Type
- Repayment scheduled to
- Description (this is not a required field, but is still available. You may also Edit this holiday at another time to add a description or edit the current description).)
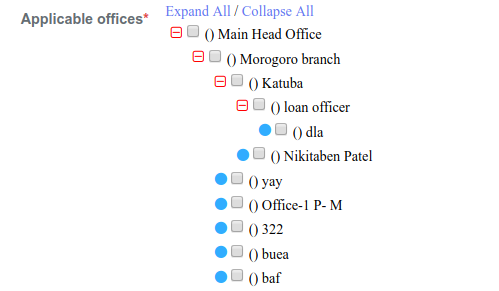
- Select the office(s) the holiday applies to by clicking on the small '+' icon beside Applicable Offices . This will open a list of offices for you to choose from. Check the boxes to mark the office(s) you would like to include.
- Click Submit.
View Holidays
Once you have selected Manage Holidays, a chart of all holidays will be displayed. The following fields will be displayed:
- Holiday Name
- Start Date
- End Date
- Alternate working day
- Status - Active or Deleted
Tip: Use the Filter by Name field to locate the holiday you are searching for. Begin typing the holiday name and Mifos X will automatically filter the results.
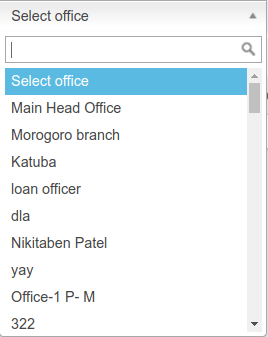
You may also filter holiday results by using the drop-down menu at the center of the Manage Holidays screen to select an office:
Edit/Delete Holiday
To Edit this holiday:
- Click on a holiday in the list to view more details:
- Click on the blue Edit button at the top-right of the page. This will launch a page where you can change the name of the selected holiday. You may also add or change a description of the chosen holiday.
To Delete this holiday:
- Click the red Delete button at the top-right of the screen.
- Click Confirm.
Related articles
| Filter by label (Content by label) | ||||||||||
|---|---|---|---|---|---|---|---|---|---|---|
|


