Working with Documents/Identifiers
Prerequisites: Logging in and Opening clients
There are two things you need to do before you are working with Documents and Identifiers:
- You need to be logged in. (See Login/Logout)
- Once you are logged in, it should take you to a screen similar to the following:
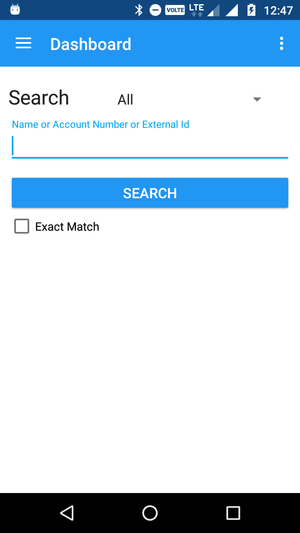
- Once you are logged in, it should take you to a screen similar to the following:
- You need to open a client whose documents you want to read or write. (See Search & View Client Details)
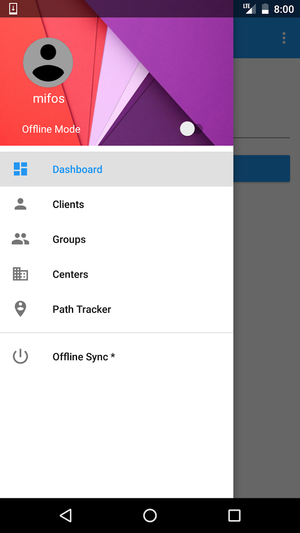
- To open a client, first tap the menu in the action bar in the top left corner (three lines). A menu should pop up as the following:
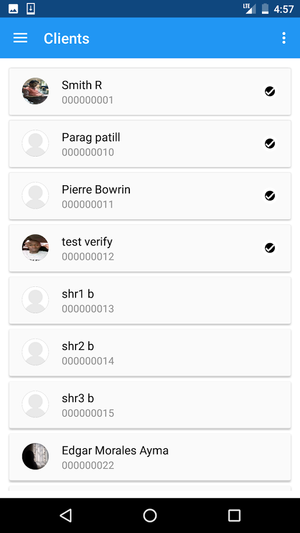
- Tap Clients. This will take you to a list of clients which you can select from. A sample list is shown below:
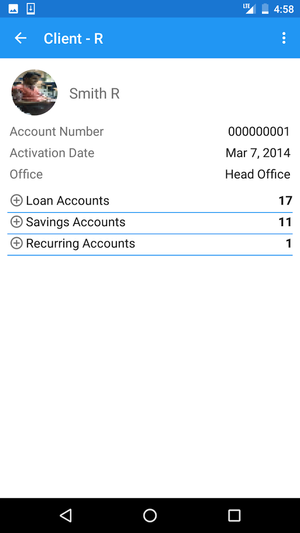
- From there, you can scroll through to find your client and select it. A sample client is shown below:
- To open a client, first tap the menu in the action bar in the top left corner (three lines). A menu should pop up as the following:
Working with Documents
Uploading a document/image
You can upload multiple documents for every client.
- Once you have a client opened (See above for a sample client), tap on the menu key in the top right corner (three dots). This will bring up an expanded menu, which should look like the following:

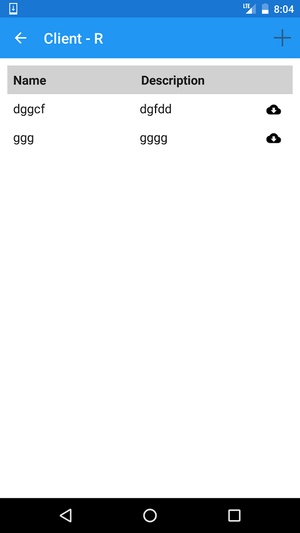
- Tap Documents to view the Client's documents. A sample list of documents is shown below:
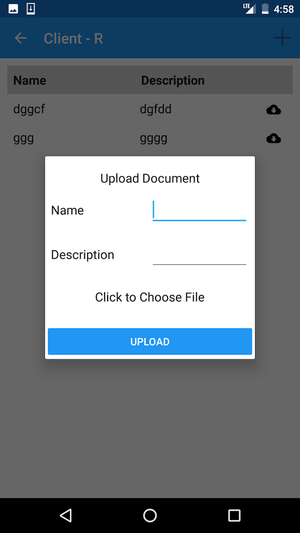
- To upload a document, simply tap the plus icon. This will bring up a dialog, which should look like the following:
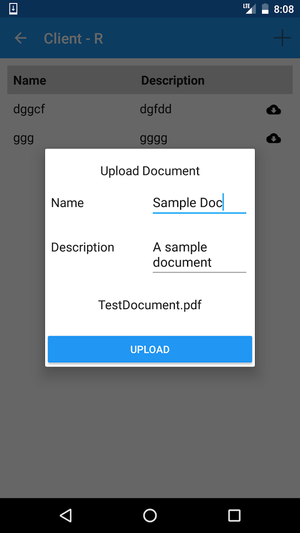
Fill out the fields shown (Name and Description). Then tap on "Click to Choose File", navigate your device using a file manager, and find the document you want to upload. A sample filled dialog looks like the following:
Field Name (attribute)
Description
Example
Validations (if applicable)
Name
The name of the document to upload.
Sample Document
This should consist of alphanumeric characters.
Description
A description of the document to upload.
This is a sample document.
This should consist of alphanumeric characters and provide a summary of what the document is about.
- Finally, tap on the blue "UPLOAD" button.
Managing a Document/Image (Downloading, Updating, and Removing a Document)
- In order to manage a document, navigate to a Client's documents as described above. A sample documents page is shown below:
- Tap on the cloud icon next to a Document . This will bring up a menu containing three actions you can perform. A sample menu is shown below:
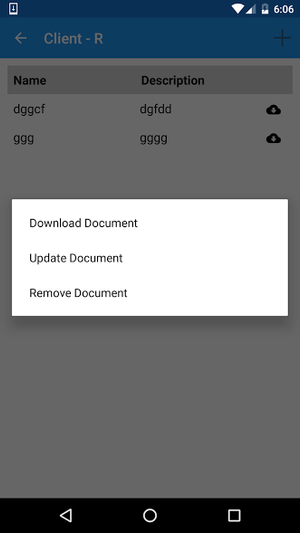
- You can perform three actions:
- Download the document to your device by tapping download.
- Remove the document from the client by tapping remove.
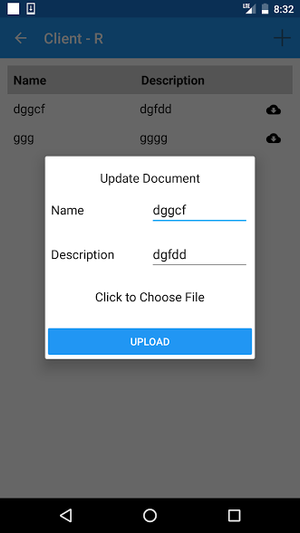
- Update the document by tapping update. This will bring up a similar dialog to when uploading a document. A sample dialog is shown below:
Working With Identifiers
Adding an Identifier
- First, navigate to a client, and tap the menu. A sample menu is shown below:
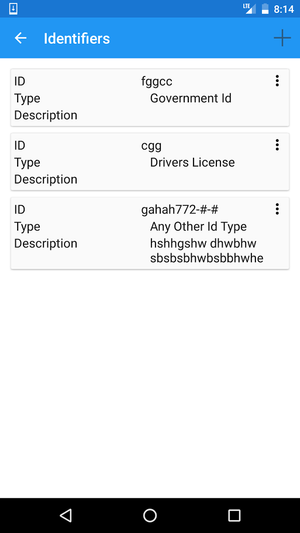
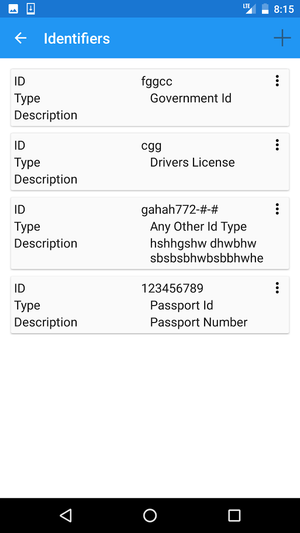
- Instead of tapping Documents as before, tap Identifiers. It will take you to the Identifiers for that Client. A sample identifiers page is shown below:
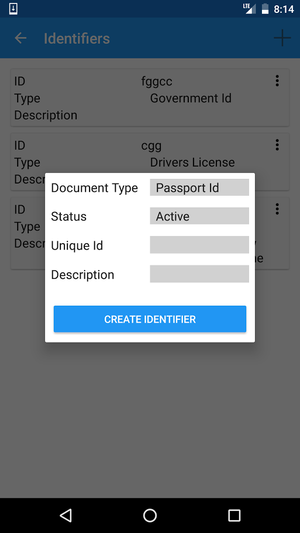
- Tap the plus icon in the top right hand corner. It will bring up a dialog which looks like the following:
Fill out the necessary fields. A sample filled out Identifier is shown below:
Field Name (attribute)
Description
Example
Validations (if applicable)
Identifier Type
The type of Identifier to be added
Passport Id
Government Id
Drivers License
Any Other Id Type
Ration Card
Voter ID
Only one option should be selected from the provided ones described.
Status
The status of the Identifier to be added
Active or Inactive
Only one option should be selected.
Unique ID The ID of the Identifier to be added 123abc456 This should consist of alphanumeric characters. Description The description of the Identifier to be added This is a sample description. This should consist of alphanumeric characters and provide a summary of what the Identifier is about. 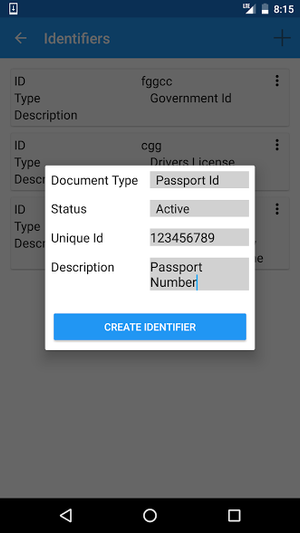
- Tap the blue Create Identifier button.
- If you refresh the Identifiers page, the new Identifier should be there. A refreshed Identifiers page is shown below:
Managing an Identifier
- Navigate to the Identifiers page as described above.
- To manage an Identifier, tap the menu (three dots) next to it. It will expand a menu, which should look like the following:
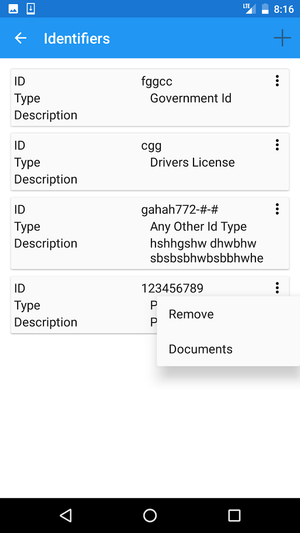
- You can perform two actions:
- Remove the Identifier by tapping Remove.
- Manage the Documents by tapping Documents. From there, everything is as described under the Working with Documents section above.