On this page: |
Step 1)
Stop running tomcat server
If you have installed tomcat as service then, stop Apache tomcat service.
or
If you have installed tomcat manually, you could use ctrl+c and stop the server.
Step 2)
Uninstall Java7
You could go to control panel and uninstall Java
Step 3)
Install Java
You could follow the link:- http://www.oracle.com/technetwork/java/javase/downloads/jdk8-downloads-2133151.html, to download JAVA 1.8 & install.
Update Environmental variables for Java
| |
|---|---|
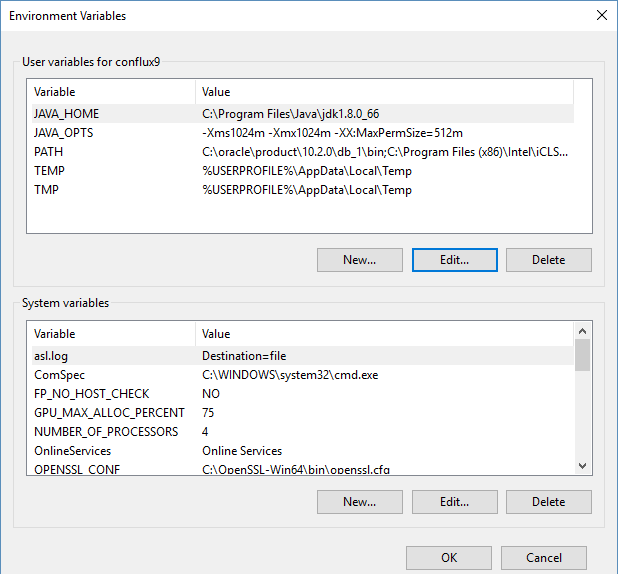
1) Open your Environment Variables:
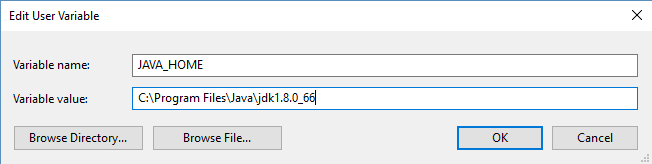
| 2) Create JAVA_HOME variable:
|
Step 4)
Uninstall existing Tomcat
If you have installed tomcat as service, then you could uninstall tomcat service.
Or
If you have installed tomcat manually, then you could delete all the tomcat directories.
Step 5)
Install tomact :
| |
|---|---|
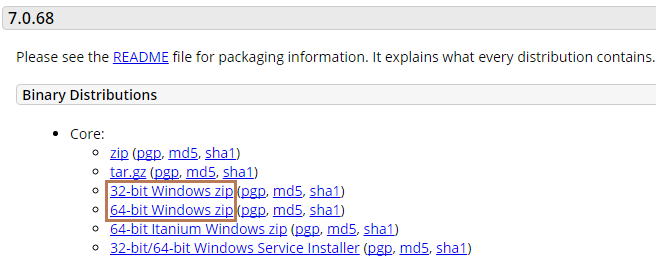
1) In your web browser, go to http://tomcat.apache.org/download-70.cgi to download tomcat 7. >> Under the section Binary Distributions>>Core, click on the link 32-bitwindows zip or 64-bit windows zip( with respect to your system architect) to download.
| 2) Extract apache-tomcat-7.0.68.zip:-
 |
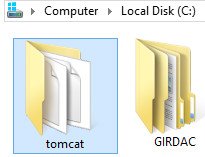
4) Folder: apache-tomcat-7.0.68, gets extracted:-
 | 5) Copy & Paste apache-tomcat-7.0.68 folder to c:\(drive) then Rename it to tomcat
|
Step 6)
| |
|---|---|
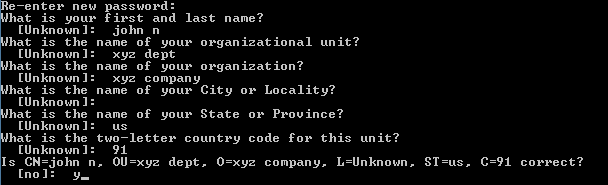
1) Setting up Lib folder a) Download drizzle jdbc 1.3 jar file from http://central.maven.org/maven2/org/drizzle/jdbc/drizzle-jdbc/1.3/drizzle-jdbc-1.3.jar b) Once it's downloaded copy & paste it to lib folder, Go toTomcat>>lib folder. Note: If tomcat-jdbc.jar file is not available in the tomcat>>lib folder then you could download and paste it from:http://www.java2s.com/Code/JarDownload/tomcat-jdbc/tomcat-jdbc.jar.zip | 2) Generate keystore Generate a new keystore using java keytool : >> Open command prompt |
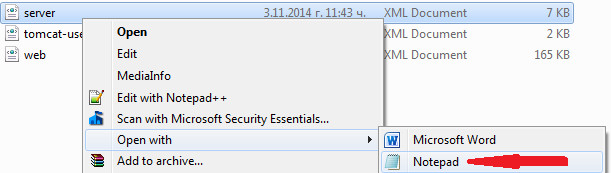
3) Configure server.xml page, a) Go to tomcat>>conf>>open server.xml with notepad:
Below mentioned are to be modified with respect to your system & settings: | <?xml version='1.0' encoding='utf-8'?> <GlobalNamingResources> <Resource type="javax.sql.DataSource" <Service name="Catalina"> <Connector protocol="org.apache.coyote.http11.Http11Protocol" <Engine name="Catalina" defaultHost="localhost"> <Realm className="org.apache.catalina.realm.LockOutRealm"> <Host name="localhost" appBase="webapps" unpackWARs="true" autoDeploy="true"> <Valve className="org.apache.catalina.valves.AccessLogValve" directory="logs" |
4) Save modified server.xml page Press Ctrl + S or File>Save. | 5) Close Notepad. |

Step 7)
| |
|---|---|
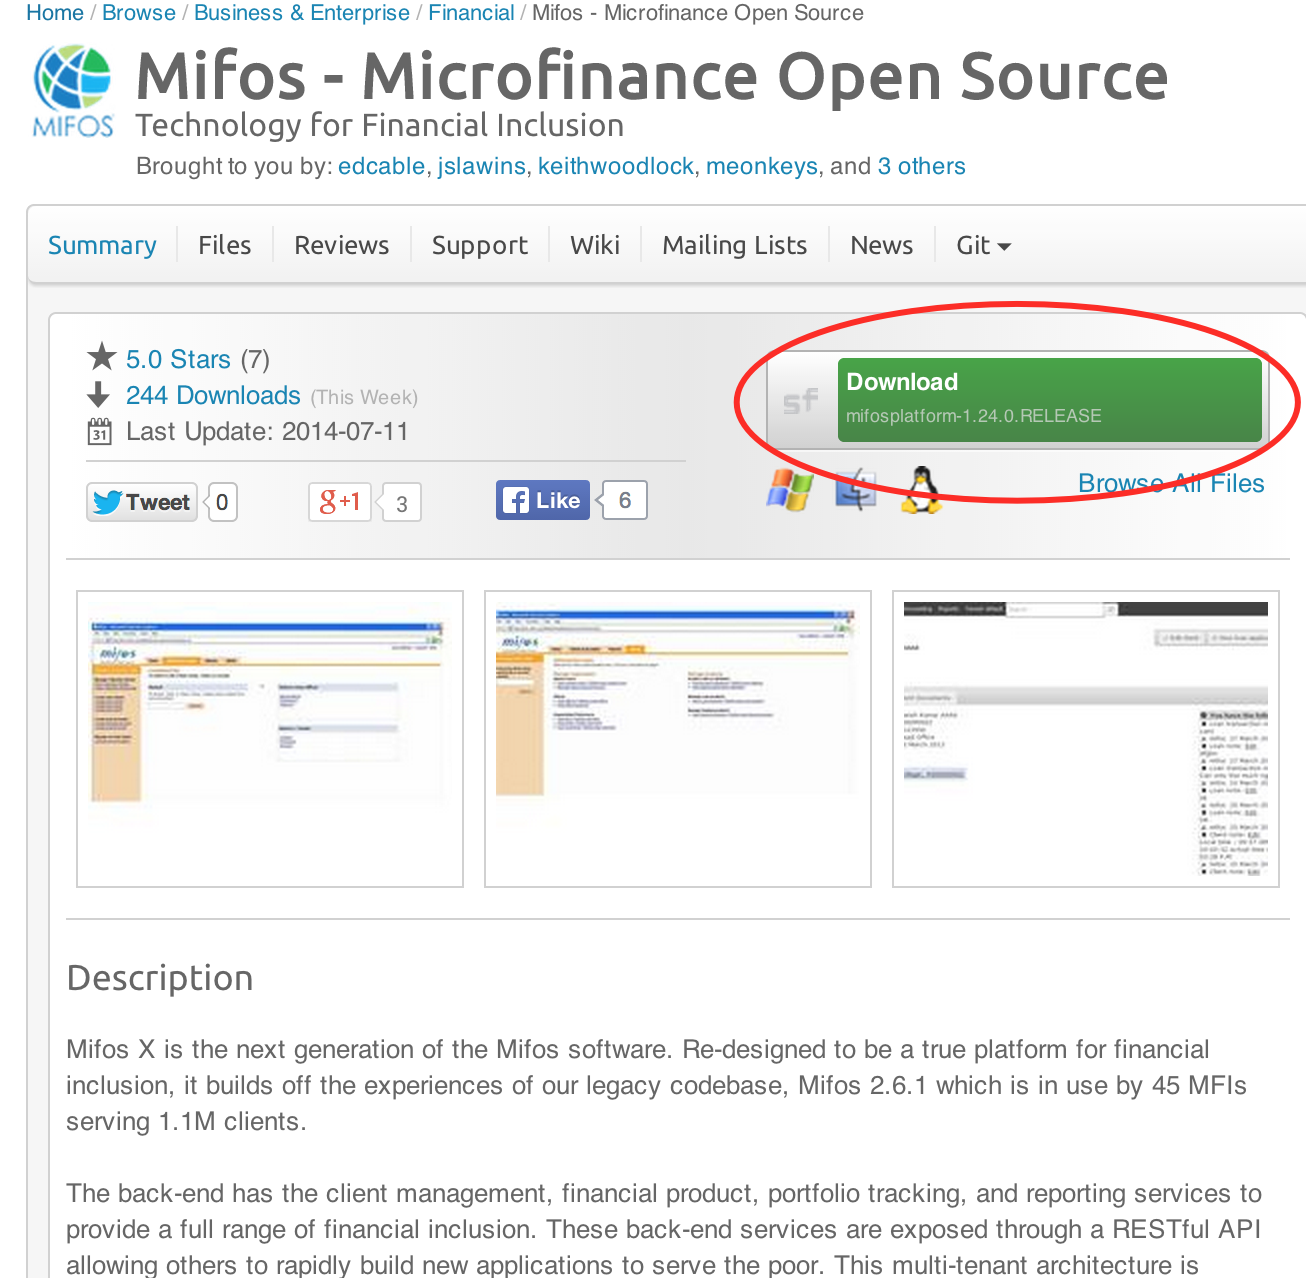
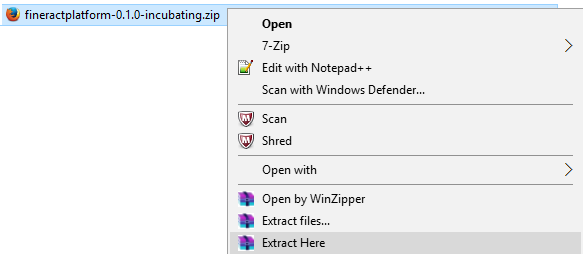
6) Once you have download the Mifos ZIP file, extract it to a new folder on your computer. Remember this location, as you will need to refer to it later.
| |
Step 8)
| |
|---|---|
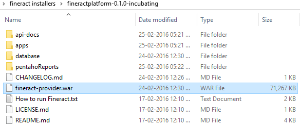
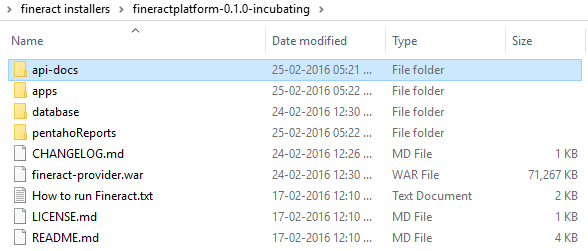
1) fineract-provider.war to tomcat>>webapps folder 1-a) Copy "fineract-provider.war" file from downloaded fineract-platform folder |
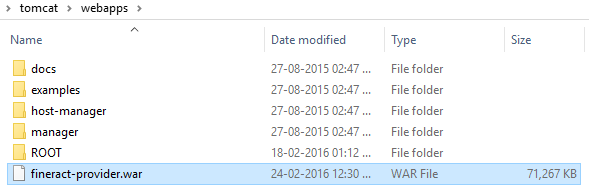
1-b) Paste it to tomcat\webapps folder |
2) Community-app to tomcat>>webapps folder 2-a) Copy "community-app" folder from downloaded Mifos-platform>>apps folder: 2-b) Paste it to tomcat\webapps |
2-c) Rename existing ROOT folder to OLDROOT under tomcat\webapps\ 2-d) Rename community-app folder to ROOT
|
3) api-docs to tomcat>>webapps>>ROOT folder 3-a) Copy "api-docs" folder from downloaded Mifos-platform>>api-docs folder:
|
3-b) Paste it to tomcat\webapps\ROOT folder
|
| 4) Copy & replace pentaho folder into .mifosx folder | |

Step 9)
| |
|---|---|
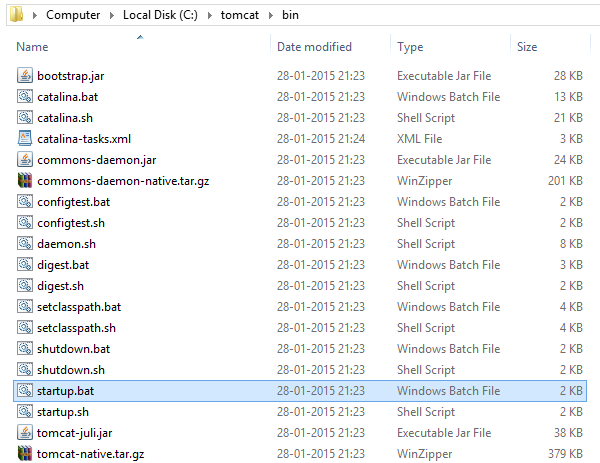
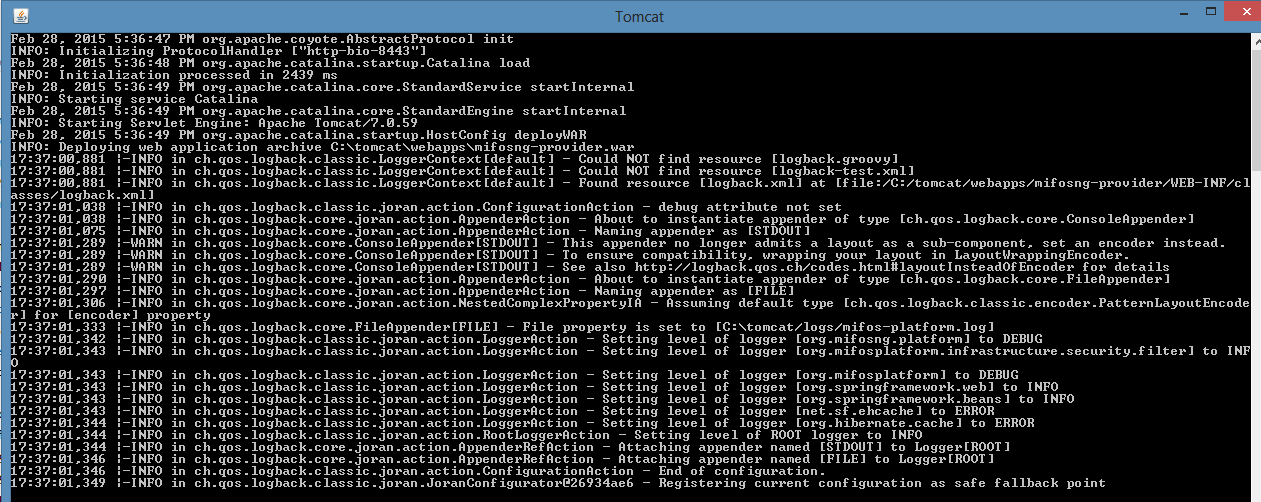
1) Go to "C:\tomcat\bin" folder, Run "startup.bat" by clicking it. Note: You can create a shortcut of "startup.bat" on your desktop and rename it as start mifosx. | 2) Application gets started |
3) Once server starts, will display as "Server startup in xxxxx ms" | 4) You could access through any internet browser:-
|
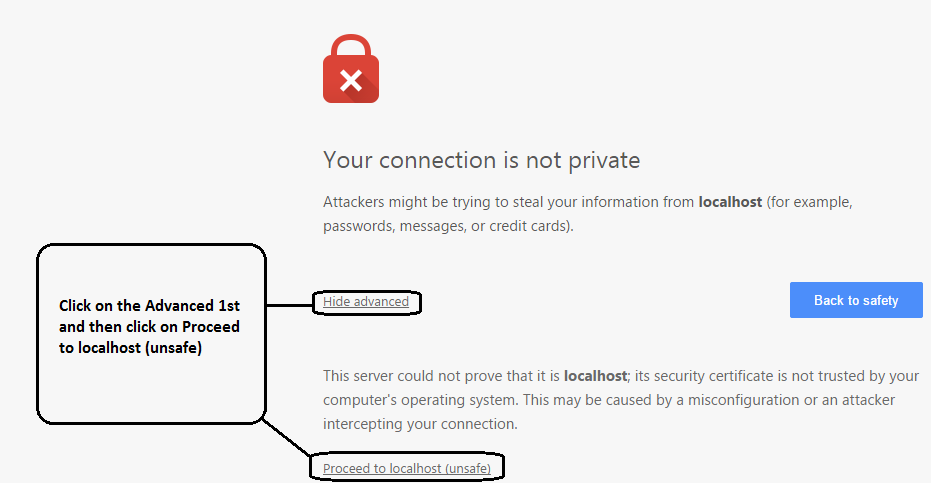
5) For the first time access it will display as shown below, please click on proceed:- | 6) Login into Mifos, by providing your credentials 
|

Important You could access Mifos X through any internet browser:- @ https://server ip address with you earlier credentails Note: Since in this instruction page, we have provided port number as 443 in server.xml page so need to provide port number. Since we have renamed community-app as ROOT no need to provide /community-app |
Related articles
Related articles appear here based on the labels you select. Click to edit the macro and add or change labels.