Windows Mifos BI 1.1 (Pentaho) Installation Guide
A guide for installing Mifos Business Intelligence Suite 1.1 on a Windows machine.
This guide assumes:
- No previous mifos BI installation
- The mifos database is called 'mifos'
- Running Mifos 2.0 or higher.
The installation process will create a data warehouse database called 'mifos_dw'. It will also create databases quartz, hibernate and sampledata for pentaho use.
Please refer to Installing Mifos BI 1.1 for instructions on installing on a Linux server. Special thanks to John Woodlock for compiling this installer package.
If you have a problem kicking of pentaho at the end of this process... it may be because of mysql security issues. If you see hibuser access denied type messages this is likely the case. In this event, please download the attachment below and run it:
mysql -u"USERNAME" -p"PASSWORD" < mifosbi_users.sql
Software Requirements
These are the required software for Mifos BI 1.1 (they are the same as required by the Mifos application itself)
- Sun Microsystems Java - JDK/JRE 1.6
- MySQL - Community Edition 5.1.45 or higher
Installation
- Download Mifos BI 1.1 Windows Install package I chose to download this install_mifos_bi_1_1_Windows.zip file directly into my C:\MifosInstall folder. If you don't have the option to specify your download folder; after the download completes use windows explorer to 'cut it' (for speed instead of copy) from your download folder to an install folder of your choice.
- Go to your install folder via Windows Explorer. Extract/Unzip install_mifos_bi_1_1_Windows.zip into your install folder. This creates a folder called install_mifos_bi_1_1_Windows
- You can extract/unzip into any folder, the install folder is used here for simplicity.
- Set up MySQL: Open up a Command Prompt (Start >> run >> CMD) and cd into the install_mifos_bi_1_1_Windows folder. Run the following command replacing MYSQLUSERNAME with root and PASSWORD with your password for root user.
mifosbi_mysql_scripts.bat MYSQLUSERNAME PASSWORD
- Run the Datawarehouse ETL Job: You can do this manually by cd'ing into pentaho_mifosbi_1_1_windows folder and entering:
initialise_datawarehouse.bat
- For your data to be populated from Mifos into the datawarehouse, this ETL job needs to be run (typically each day just after midnight but could be less frequent if preferred). See below for instructions on scheduling the ETL job.
If you run into issues running Mifos and Pentaho simultaneously, it's because of their port numbers. Mifos by default runs on port 8080. This is where Pentaho will try to run as well. To run both applications simultaneously, you need to change the port Pentaho runs on to 8086. Follow these steps to change the port for Pentaho.
Running Mifos BI
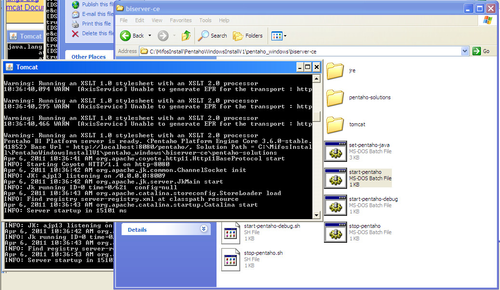
- Go to the biserver-ce folder in the pentaho_mifosbi_1_1_windows folder. Double-click start-pentaho.bat
(A tomcat window will pop up - it will be successfully running when you see the following)
- Go to your browser and enter: http://localhost:8080 (I'm only running Mifos and Mifos BI locally so my url is my localhost. If you have deployed this on a webserver, enter the url of your server accordingly)
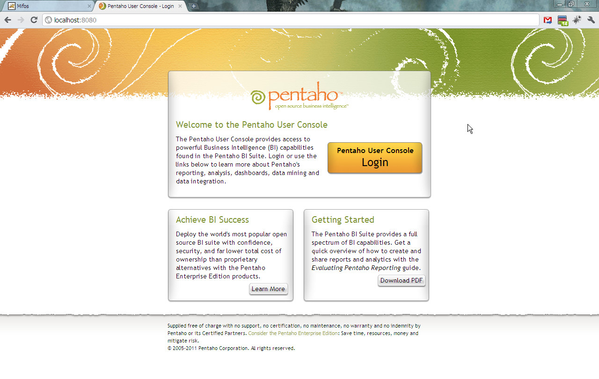
- Log on using the default admin account with user id, joe and the password, password.

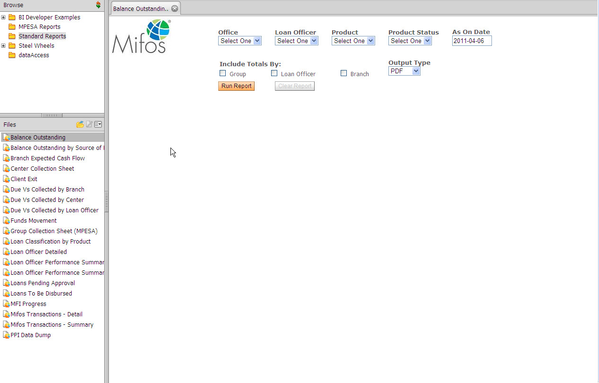
- Enable the browser view by clicking the toggle browser icon.

- Go into the standard reports folder and begin to run reports.
Scheduling ETL Job
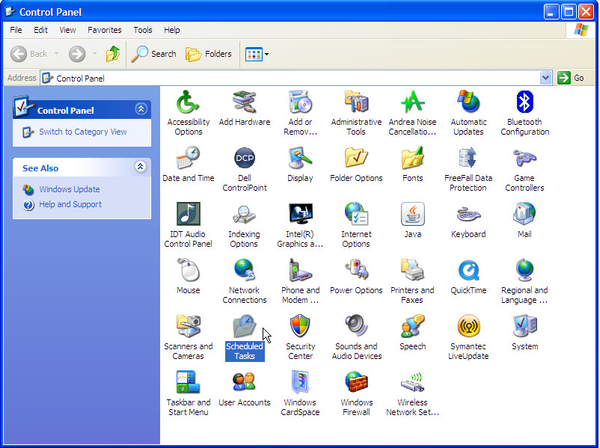
The instructions below are for Windows Task Scheduler (Windows XP/Windows 2003)
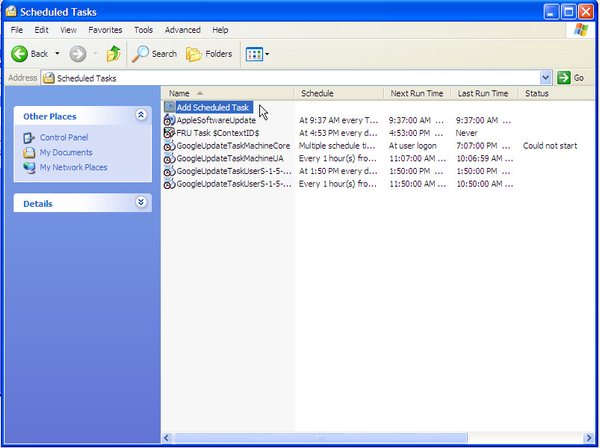
- Navigate to your control panel and double click Scheduled Tasks icon.
- Double click to Add Scheduled Task.
- Under the Add Scheduled Task wizard, click the Browse option and navigate to the pentaho_mifosbi_1_1_windows directory and select initialise_datawarehouse.bat
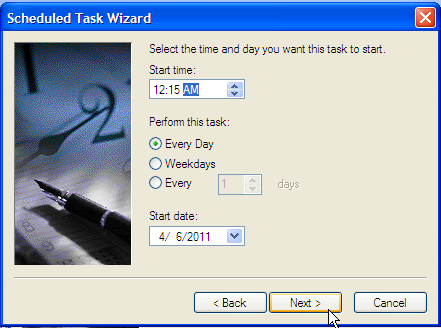
- You can rename the task if you like. For Perform this task, select Daily.
- Select the time you'd like it to run at. I've selected it to run after midnight each day so all daily transactions will have been entered.
- Enter your Windows user credentials.
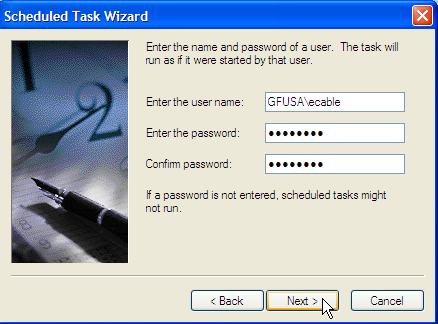
- Click Finish to successfully add the task. You can select advanced properties to control how and when the task gets run.

For more on using Windows Task Scheduler, see http://www.iopus.com/guides/winscheduler.htm.