Working with Collection Sheets
Individual Collection Sheets:
Before you can make a repayment, you must do the following:
1.You need to be logged in. (See Login/Logout)
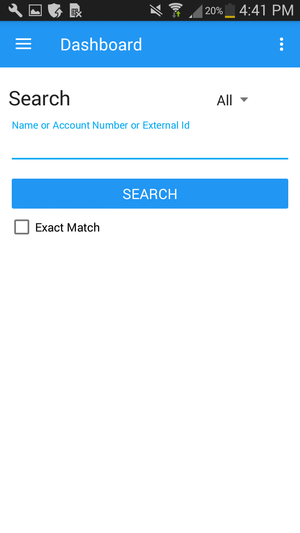
- Once you are logged in, it should take you to a screen similar to the following:
2. Open the Individual Collection Sheet
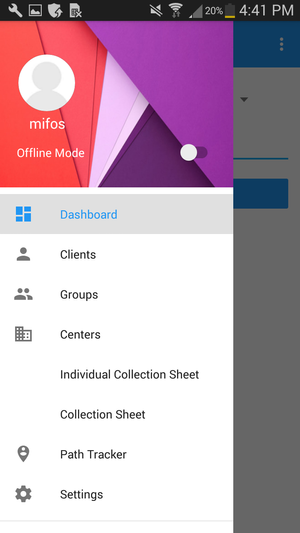
- First tap the menu in the action bar in the top left corner (three lines). A menu should pop up similar to the following:
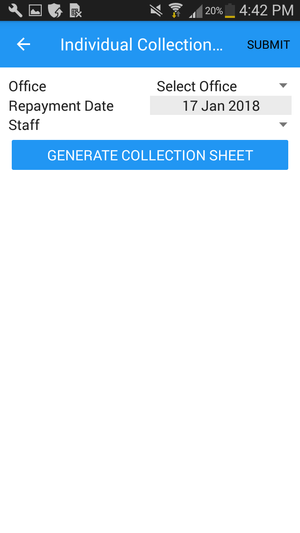
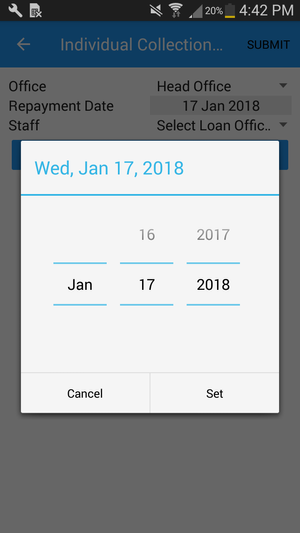
- Tap Individual Collection Sheet. This will take you to where you can generate the collection sheet. It should pop up as the following:
3. From there, input the following information:
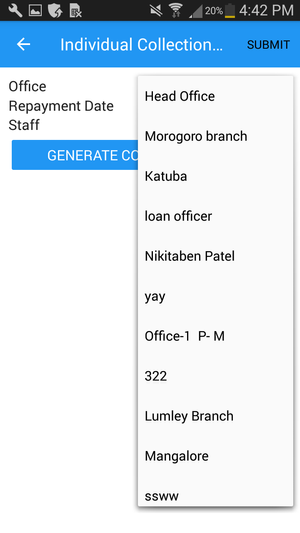
Branch Office - Select desired office.
Repayment date - Select respective repayment date.
Staff - Select associated loan officer, if the loan officer is not associated you could skip this selection.
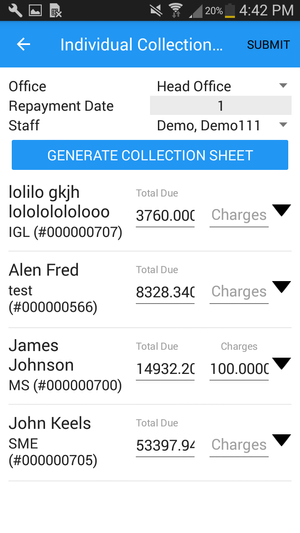
- Then click on Generate Collection sheet button. The following window appears:
4. All the individual's expected repayment amount are automatically shown in this sheet here.
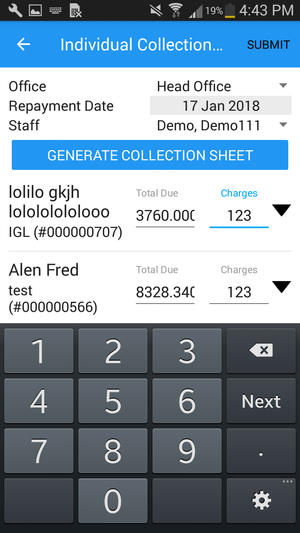
- Loan and charges due collection row. With respect to the loan account total due is the expected loan repayment column and charge is the expected charge to be paid row.
- In the row below you could see the savings dues to collected columns.
You could also use add payment detail in case if you want to capture additional payment details.
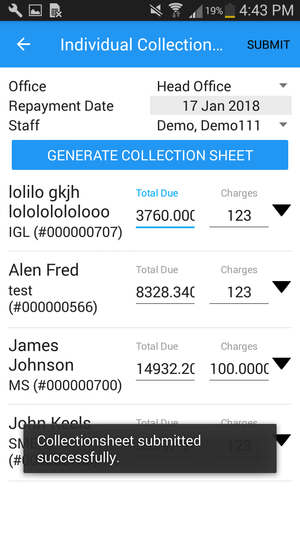
- Finally, submit the sheet by tapping the "Submit" button at the top right
- A message will be displayed like that shown below on the image:
Group Collection Sheets
Productive Collection Sheets
Productive collection - generates collections to be made by staff wise. For example: Staff - John is associated with center 1 and center 2. Meeting date falling on same date - 01, Jan.,2010. So on generating productive collection sheet on 01,Jan. ,2010 will display both centers collection sheet under staff - John.
Before you can make a repayment, you must do the following:
1.You need to be logged in. (See Login/Logout)
- Once you are logged in, it should take you to a screen similar to the following:
2. Open the Collection Sheet
- First tap the menu in the action bar in the top left corner (three lines). A menu should pop up as the following:
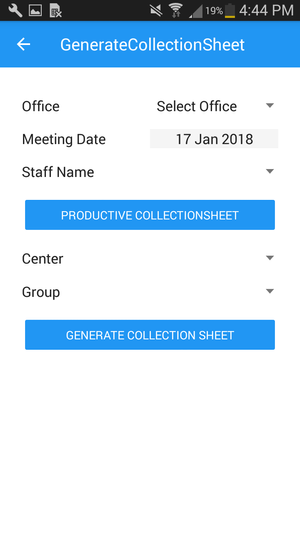
- Tap the Collection Sheet. This will take you to where you can generate the collection sheet. It should pop up as the following:
3. From there, input the following information:
Branch Office - Select desired office.
Meeting date - Select respective meeting date.
Staff Name - Select associated loan officer, if the loan officer is not associated you could skip this selection.
4. Then click on "Productive Collection Sheet" button. The following will appear to be ready to submit:
Collection Sheets
A continuation from above, complete steps 1-4.
Collection sheet - generates collection sheet without staff as well, by selecting group and center.
1.Select group and center by choosing options from the corresponding drop-down menus.
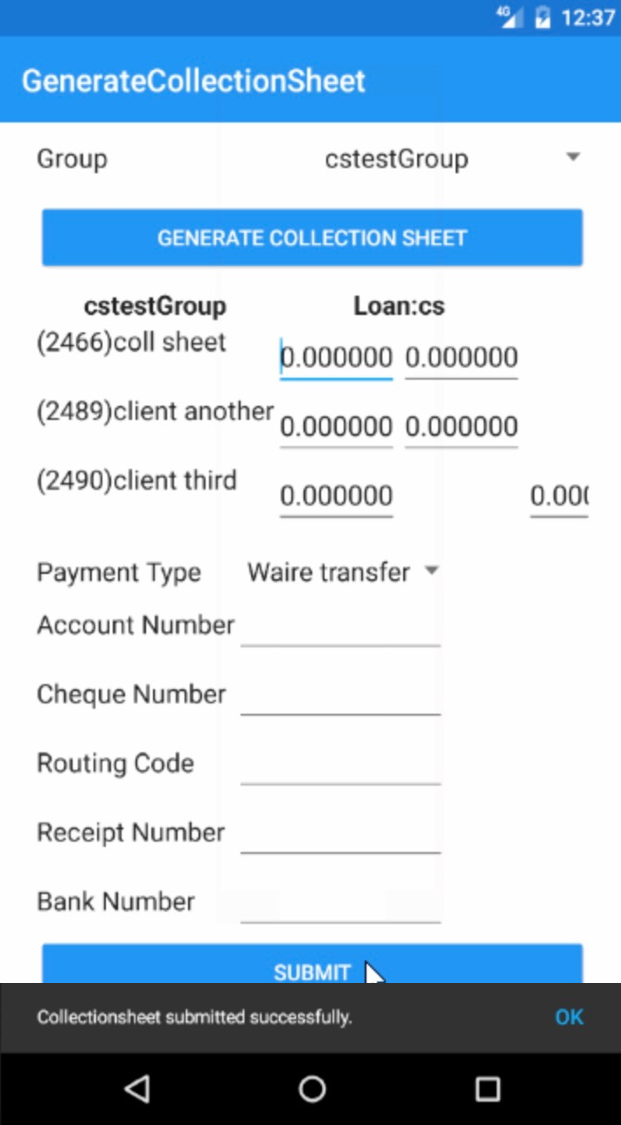
2. After the Center and Group have been selected, click on the "Generate Collection Sheet button". The following screen will appear:
3. Provide details, including Charges and Attendance:
- Input Charges
- For attendance, use the drop-down menu to select either Present, Absent, Approved, Leave, or Late for each group member.
4. Using the drop-down menu, select a payment type.
- Then, input details by inputting required fields you can capture details i.e Payment type, Account Number, Receipt Number, etc.
5. Finally, click on "submit" to the Collection Sheet after reviewing inputted information.
For repayments of client loan accounts see How to Make Repayments on a Client Loan Account.
Related articles
