| |
|---|---|
1) Before beginning, uninstall any existing versions of Java currently on your computer. | 2) In your web browser, go to http://www.oracle.com/technetwork/java/javase/downloads/jdk8-downloads-2133151.html, to download JAVA 1.8. |
3) Oracle requires that you read the license agreement, then click the button labeled Accept License Agreement. | 4) Click the link to download with respect to you system architect i.e Windows x86 for 32bit or Windows x64 for 64bit. |
5) Save the Java installation file to your computer | 6) Run & install the Java file. |
| |
|---|---|
1) In your web browser, go tohttp://dev.mysql.com/downloads/mysql/5.5.html#downloads.To download MYSQL server 5.5v. Click on download button with respect to you system architect i.e Windows x86 for 32bit or Windows x64 for 64bit. | 2) You can skip this option by clicking the link at the bottom of the page that says No thanks, just start my download.
|
3) Run the MySQL installation file.Click on Typical button and click on Next button.
| 4) During MySQL installation, use Advanced Configuration > Show Advanced Options& set the MySQL ROOT Password to mysql. Then click on Save button.So your user name will be root and password will be mysql. |
| |
1) In your web browser, go to http://tomcat.apache.org/download-70.cgi to download tomcat 7. >> Under the section Binary Distributions>>Core, click on the link 32-bit windows zip or 64-bit windows zip( with respect to your system architect) to download. | |
2) Extract apache-tomcat-7.0.68.zip:-
| |
4) Folder: apache-tomcat-7.0.68, gets extracted:-
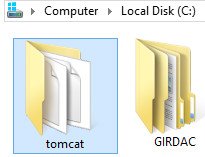
| 5) Copy & Paste apache-tomcat-7.0.68 folder to c:\(drive) then Rename it to tomcat |
| |
1) Open your Environment Variables: | 2) Create JAVA_HOME variable:
|
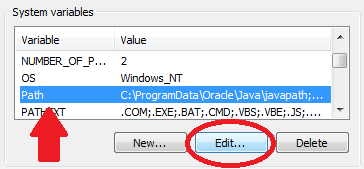
3) Edit PATH variable:
| 4) Create JAVA_OPTS variable:
|
| |
|---|---|
1) Create new directory ex: fineract |
2) Open git bash, through git bash >> Go inside the created folder(ex-fineract) then execute, this will download platform code:- git clone https://github.com/apache/incubator-fineract.git
Wait for download completion and move to next step once it's done. |
3) Go to, incubator-fineract>>fineract-provider then execute below command gradle clean dist once successful move to next step | 4) Go to incubator-fineract\fineract-provider\build\distributions>>then unzip fineract-platform |
| |
|---|---|
1) Download HEIDISQL from:- http://www.heidisql.com/download.php & Save the installation file to your computer. | 2) Run the Heidisql installation file & setup Heidisql: i) For local - Provide mysql password as mysql. ii) Click on Save button. iii) Click on open button. |
4) Copy the following database command and paste it into the large white box titled Query | 5) Click on Run button to Execute the query. . |
6) On heidisql, click on File>>Load SQL file.. | 7) Through Load SQL file window,
Run the first-time-install script, by clicking Run Query button & once its successful close heidisql application. |
| |
|---|---|
1) Setting up Lib folder a) Download drizzle jdbc 1.3 jar file from http://www.drizzle.org/content/download b) Once it's downloaded copy & paste it to libfolder, Go to Tomcat>>lib folder. Note: If tomcat-jdbc.jar file is not available in the tomcat>>lib folder then you could download and paste it from:http://www.java2s.com/Code/JarDownload/tomcat-jdbc/tomcat-jdbc.jar.zip 2) Generate keystore Generate a new keystore using java keytool : >> Open command prompt>> Go to the path where your JAVA>>bin folder is located. >> Run this command to generate the key: keytool -genkey -alias tomcat -keyalg RSA >> Then provide the password. For example: Provide input and type in y for the last question to confirm. Note: Once the keystore is created, it should be placed in your home directory. For Example:C:/Users/john/.keystore 3) Configure server.xml page, a) Go to tomcat>>conf>>open server.xml with notepad: Below mentioned are to be modified with respect to your system & settings: | <?xml version='1.0' encoding='utf-8'?> <GlobalNamingResources> <Resource type="javax.sql.DataSource" <Service name="Catalina"> <Connector protocol="org.apache.coyote.http11.Http11Protocol" <Engine name="Catalina" defaultHost="localhost"> <Realm className="org.apache.catalina.realm.LockOutRealm"> <Host name="localhost" appBase="webapps" unpackWARs="true" autoDeploy="true"> <Valve className="org.apache.catalina.valves.AccessLogValve" directory="logs" |
4) Save modified server.xml page Press Ctrl + S or File>Save. | 5) Close Notepad. |
| |
|---|---|
1) fineract-provider.war to tomcat>>webapps folder Copy "fineract-provider.war" file from unziped folder, C:\fineract\incubator-fineract\fineract-provider\build\distributions\fineractplatform-16.01.2.RELEASE
|
2) Paste it to tomcat\webapps folder
|
| ||
|---|---|---|
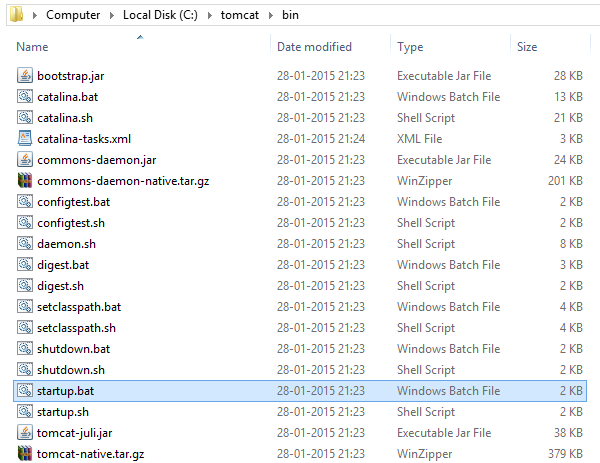
1) Go to "C:\tomcat\bin" folder, Run "startup.bat" by clicking it.
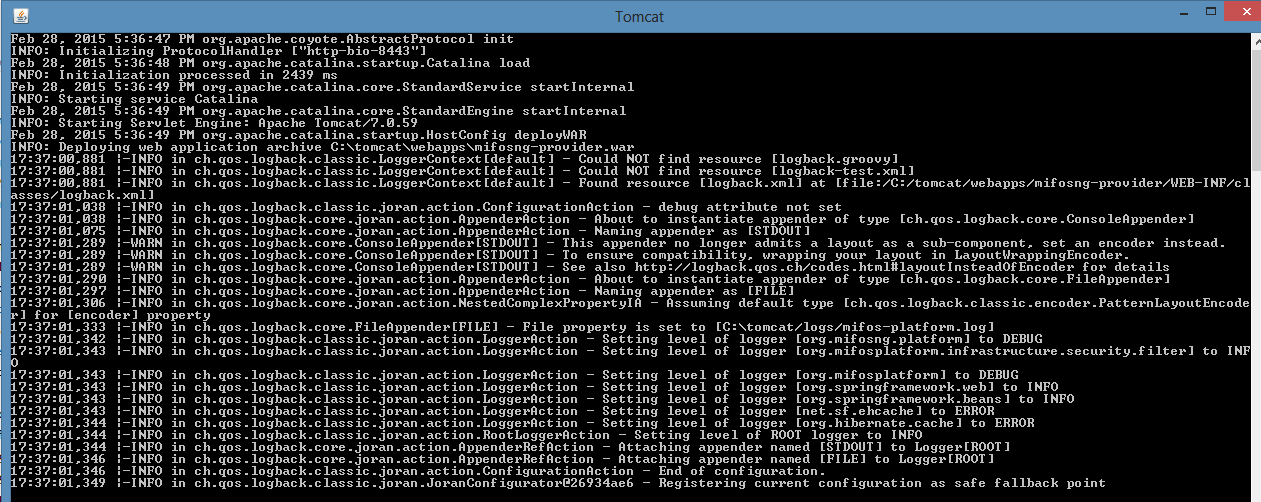
Note: You can create a shortcut of "startup.bat" on your desktop and rename it as start mifosx. | 2) Application gets started
| |
3) Once server starts, will display as "Server startup in xxxxx ms"
| 4) Open below mentioned url in internet broswer and authenticate(for the first time). Open git bash, through git bash >> Go inside the created folder(ex-fineract) then execute, this will download community-app:- git clone https://github.com/openMF/community-app.git Wait for download completion and move to next step once it's done. | 2) Go inside the created community-app folder then execute npm install -g bower npm install grunt serve |
3) Open new git bash, then go inside the folder and execute "fineract>>incubator-fineract>>fineract-provider" gradle clean tomcatRunwar | ||
| ||||||
|---|---|---|---|---|---|---|
Once the server gets started, you could access it from Mozilla firefox - internet browser: 1) First time authentication - | 2) Go to fineract folder >>community-app>>app>>and open index.html, this will run in your internet browser. ex:- file:///F:/fineract/community-app/app/index.html | |||||
3) Now extend below mentioned url infront of index.html line as mentioned below:- ?baseApiUrl=https://localhost:8443/fineract-provider/api/v1 | /clientsdefault | 5) Fineract-platform is ready to be used. You could pass the api requests by following our api documents available in the path: C:\fineract\incubator-fineract\fineract-provider\build\distributions\fineractplatform-16.01.2.RELEASE >> api docs. For info on using rest client refer Using rest client for passing api requests | ex:- file:///F:/fineract/community-app/app/index.html?baseApiUrl=https://localhost:8443/fineract-provider/api/v1?tenantIdentifier=default#/home | |||
| Warning | ||
|---|---|---|
| ||
|
| Info |
|---|
Related articles
| Filter by label (Content by label) | ||||||||||||||||||
|---|---|---|---|---|---|---|---|---|---|---|---|---|---|---|---|---|---|---|
|


