...
- Click on Clients on the top menu bar, and click on Groups in the sub-menu that appears.
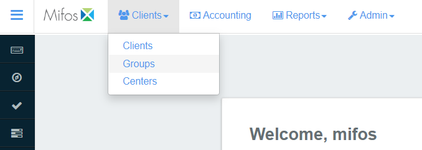
- This will display a page with a list of all the Groups ( as shown in the screenshot below).
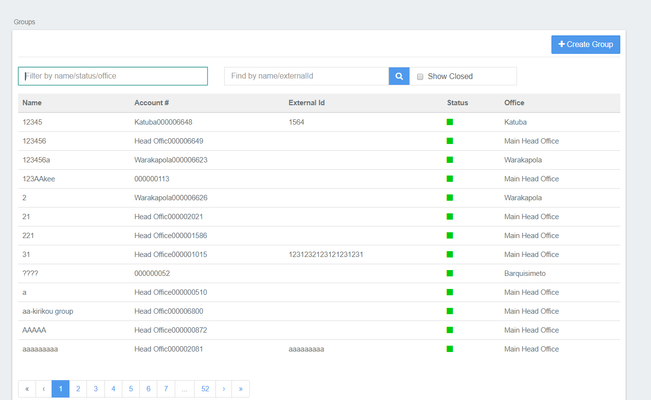
- Find the Group you wish to add the Group Saving Application for (use the Search bar at the top, if necessary) , and click on its Name. This will display the Group Profile.
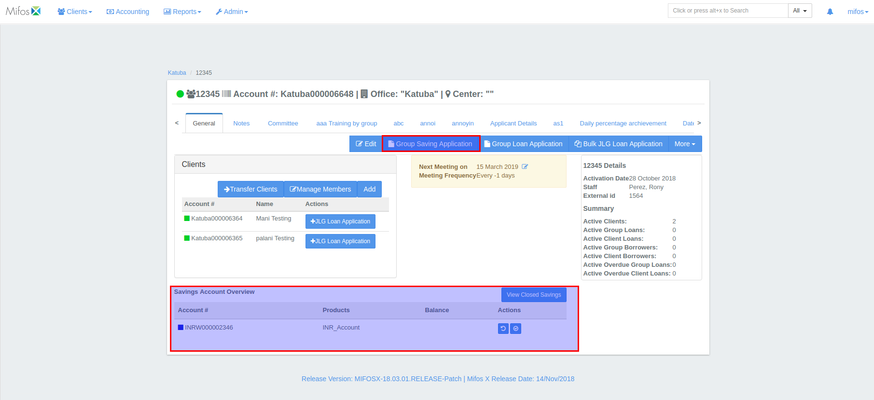
- Click on the 'Group Saving Application' button (indicated on the screenshot above).
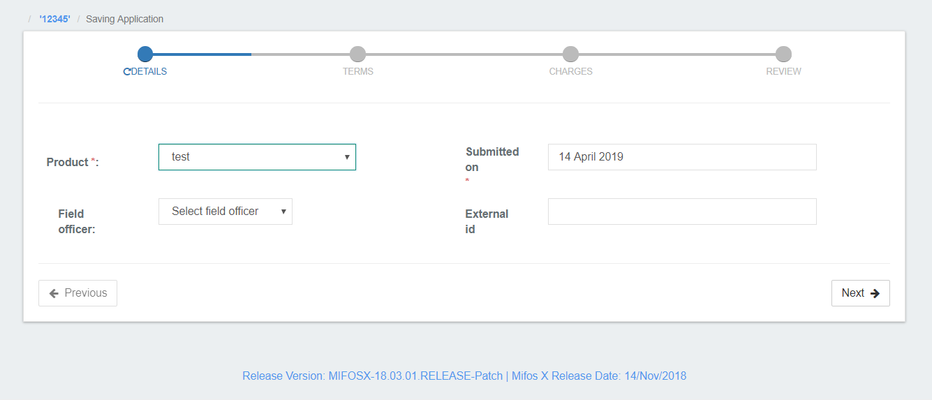
- On the window that appears, select the Saving Product for the Group.
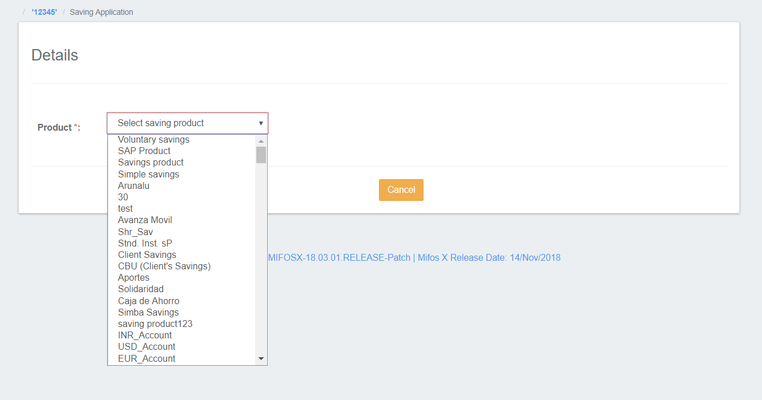
- Fill in all the details and click on the Submit button (For more information on how to fill in the details, see here).
- Afterwards, the Saving Account needs to be approved and activated with the specified date so that each member of the group can make transactions. Click on the 'Approve' button to approve it.
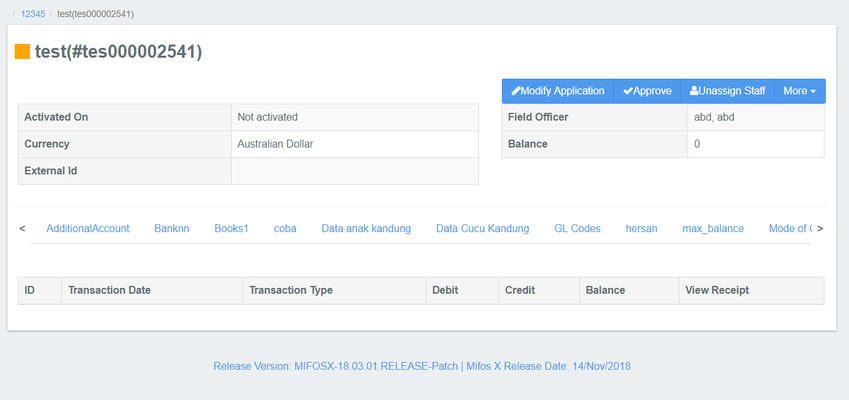
- Once the Saving Account is created for the Group, the 'Saving Account Overview' is shown on the Group page displaying the Saving Account Number, Saving Product and Balance.
...