Versions Compared

Key

  • This line was added.
  • This line was removed.
  • Formatting was changed.
Comment: Made some small grammatical changes; tidied up some sentences for clarity and brevity; updated some sentences for style consistency


For Video guide - Click on the below link

Widget Connector
width700
urlhttps://www.youtube.com/watch?v=mYVMboSZ9Rs
height200


Panel

On this page:

Table of Contents
maxLevel3
minLevel3
printablefalse


Prerequisite Software   


Note

NOTE: the software and versions included below are a mandatory prerequisite

  • JAVA DEVELOPMENT KIT >> VERSION 1.8.0_65 & above                                
  • MYSQL SERVER >> Version 5.5 or 5.6
  • TOMCAT >> Version 7.0.64.0 & above


  •  

    Install Java 

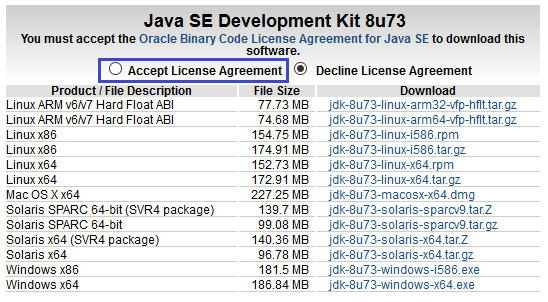
1) Before beginning, uninstall any existing versions of Java currently on your computer. 

2) In your web browser, go to http://www.oracle.com/technetwork/java/javase/downloads/jdk8-downloads-2133151.html, to download JAVA 1.8.

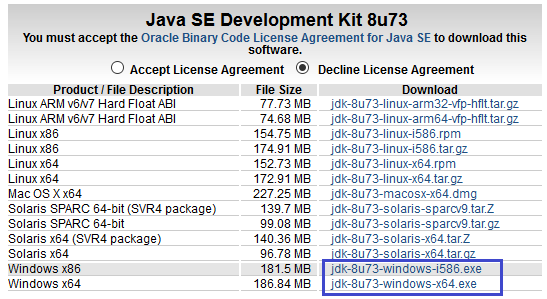
3) Oracle requires that you read the license agreement, then click the button labeled Accept License Agreement.

4) Click the link to download the version for your system architecture i.e. Windows x86 for 32bit or Windows x64 for 64bit. 

5) Save the Java installation file to your computer

6) Run and install the Java file.

...

  •  

    Create Environment Variables 

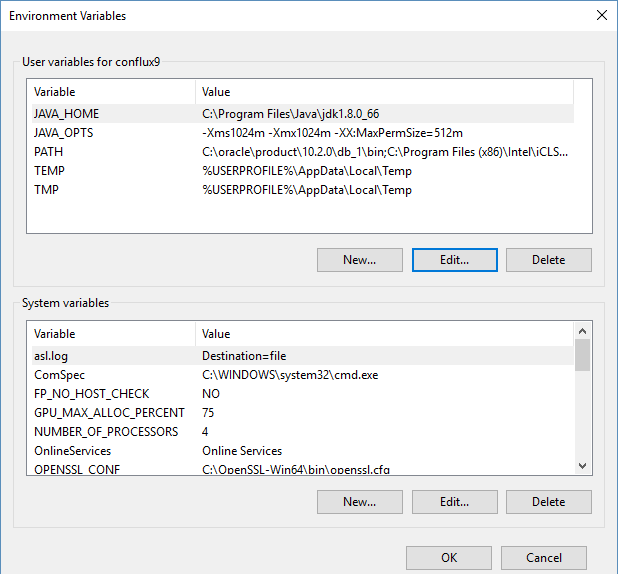
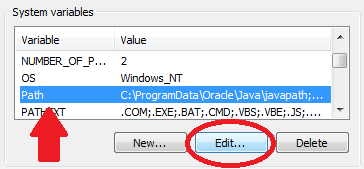
1) Open your Environment Variables:
Start Menu > Control Panel > System and Security > System > Advanced System Settings > Environment Variables.

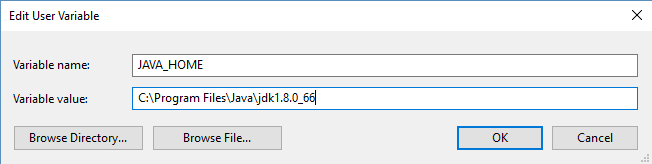
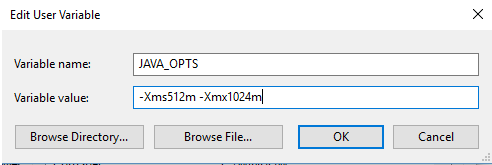
2) Create the JAVA_HOME variable:
  • Click on the New button, under the User Variables section.
  • For Variable Name, enter JAVA_HOME
  • For Variable Value, provide the Java path (for example: C:\Program Files\Java\jdk1.8.0_66).
    NOTE: 
    i - If you are running 32-bit Windows, then the path is: C:\Program Files (x86)\Java\jdk1.8.0_66
    ii - Java jdk path "jdk1.8.0_66" may be different on your system as it is dependent on the version you have installed. 
  • Click the OK button.
3) Edit the PATH variable:
  • In the System Variables section, scroll down to and select the Path variable.
  • Click the Edit button at the bottom of the window.
  • Use your mouse cursor and click inside the Variable Value box. 
    Using your keyboard's right-arrow or End key, move all the way to the far right of the current text in Variable Value.
  • Add the following text onto the end of the existing Variable Value text: 
    - For Java path example:- ;C:\Program Files\Java\jdk1.8.0_66\bin 
    - For Mysql server path example:- ;C:\Program Files\MySQL\MySQL Server 5.5\bin

    NOTE: 
    i - There must be exactly one semi-colon between whatever is already in your PATH variable, and the new C:\Program Files\Java\jdk1.8.0_66\bin – don't add a semi-colon if your previous PATH already ended with a semi-colon.
    ii - Java jdk path "jdk1.8.0_66" may be different on your system as it is dependent on the version you have installed.  

  • Click the OK button  

4) Create the JAVA_OPTS variable: 

  • a. Under the User Variables section, click the New... button again.
  • b. For Variable Name, enter JAVA_OPTS
  • c. For Variable Value, enter the system's memory size, for example: -Xms512m -Xmx1024m


  •  

    Download Mifos 

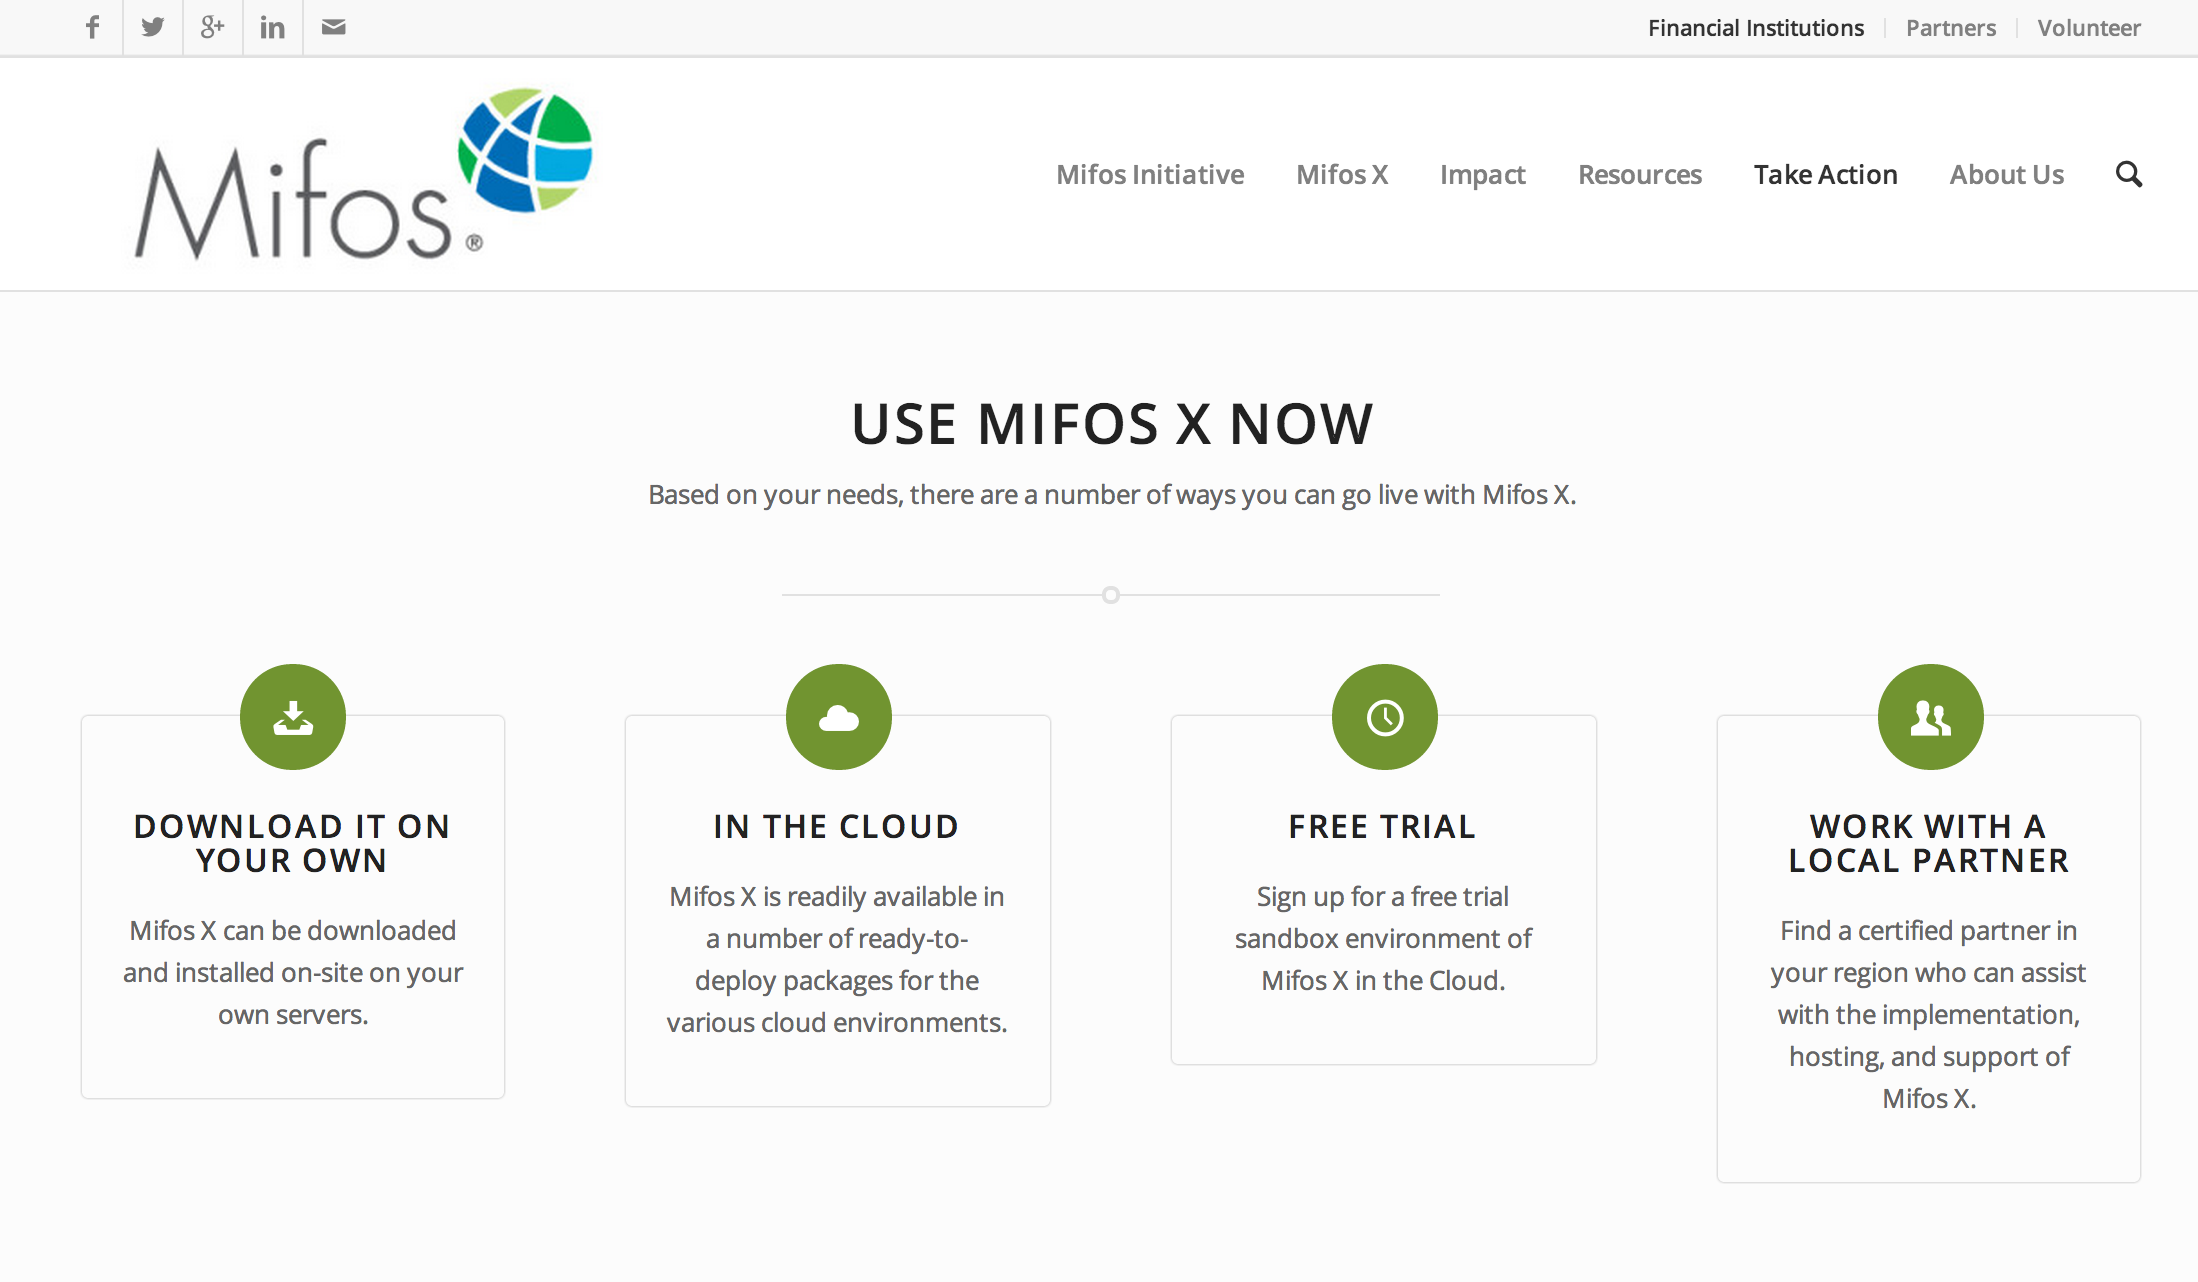
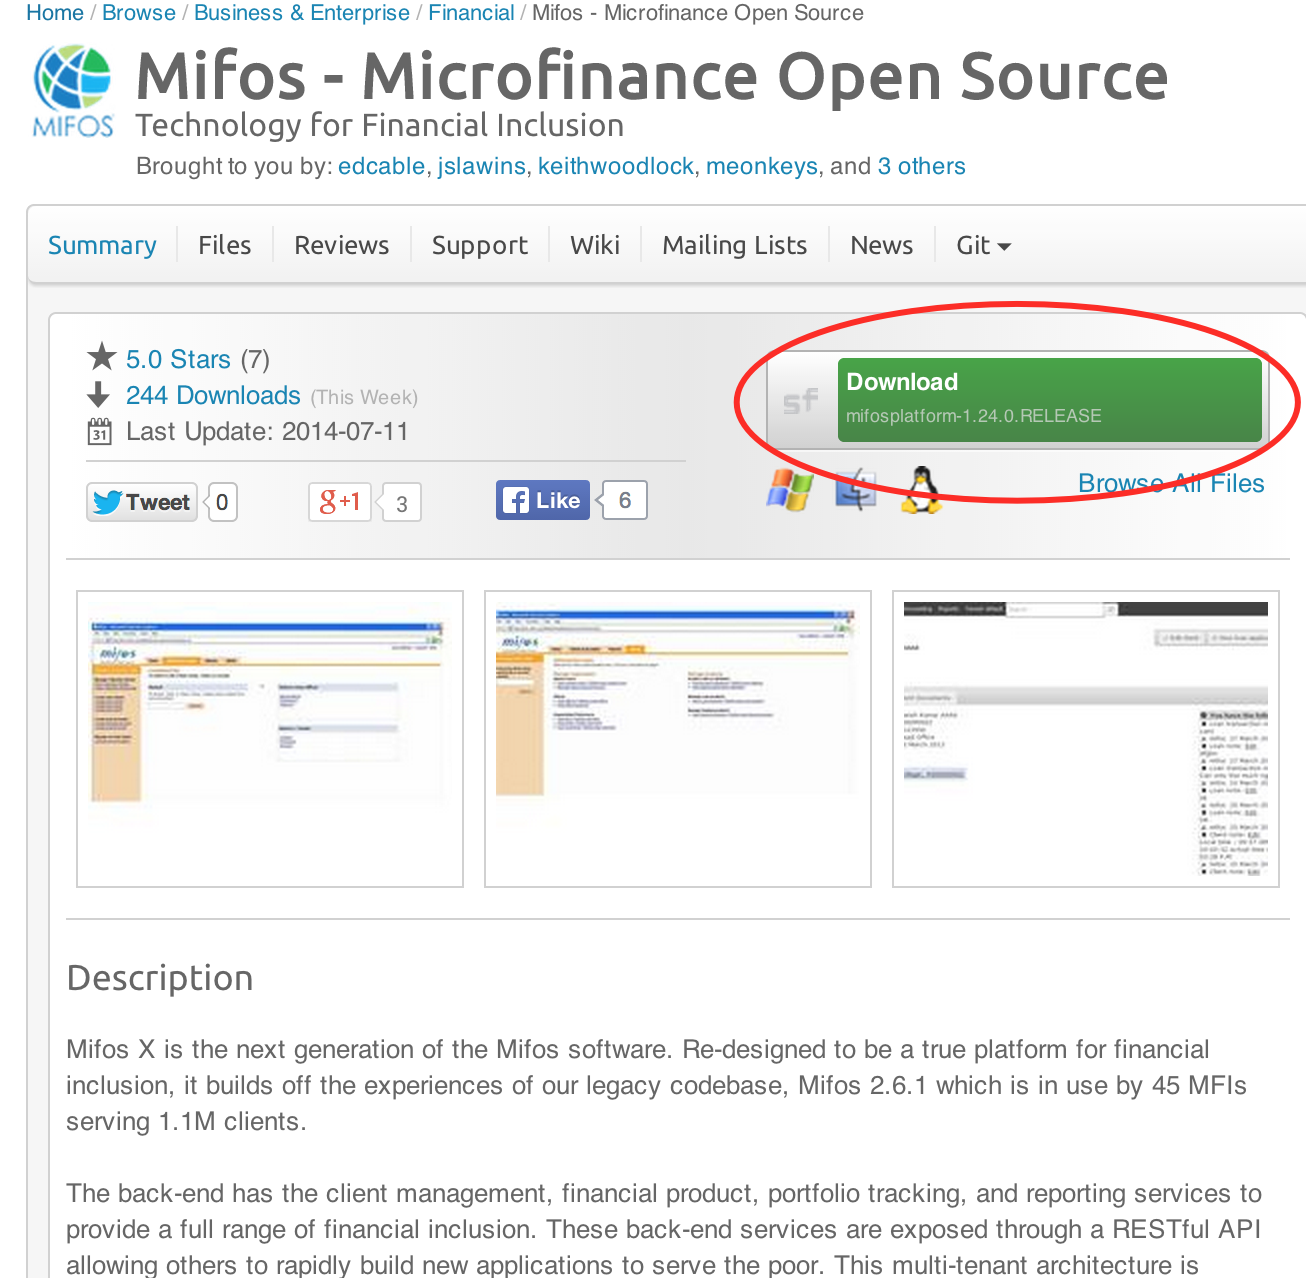
1) Go to http://mifos.org/ from your web browser

& Navigate

and navigate to Take Action >> Get Mifos 
Image Modified

2) Click on the "DOWNLOAD IT ON YOUR OWN"


link
Image Modified

3) Click on "Download MifosX Now 


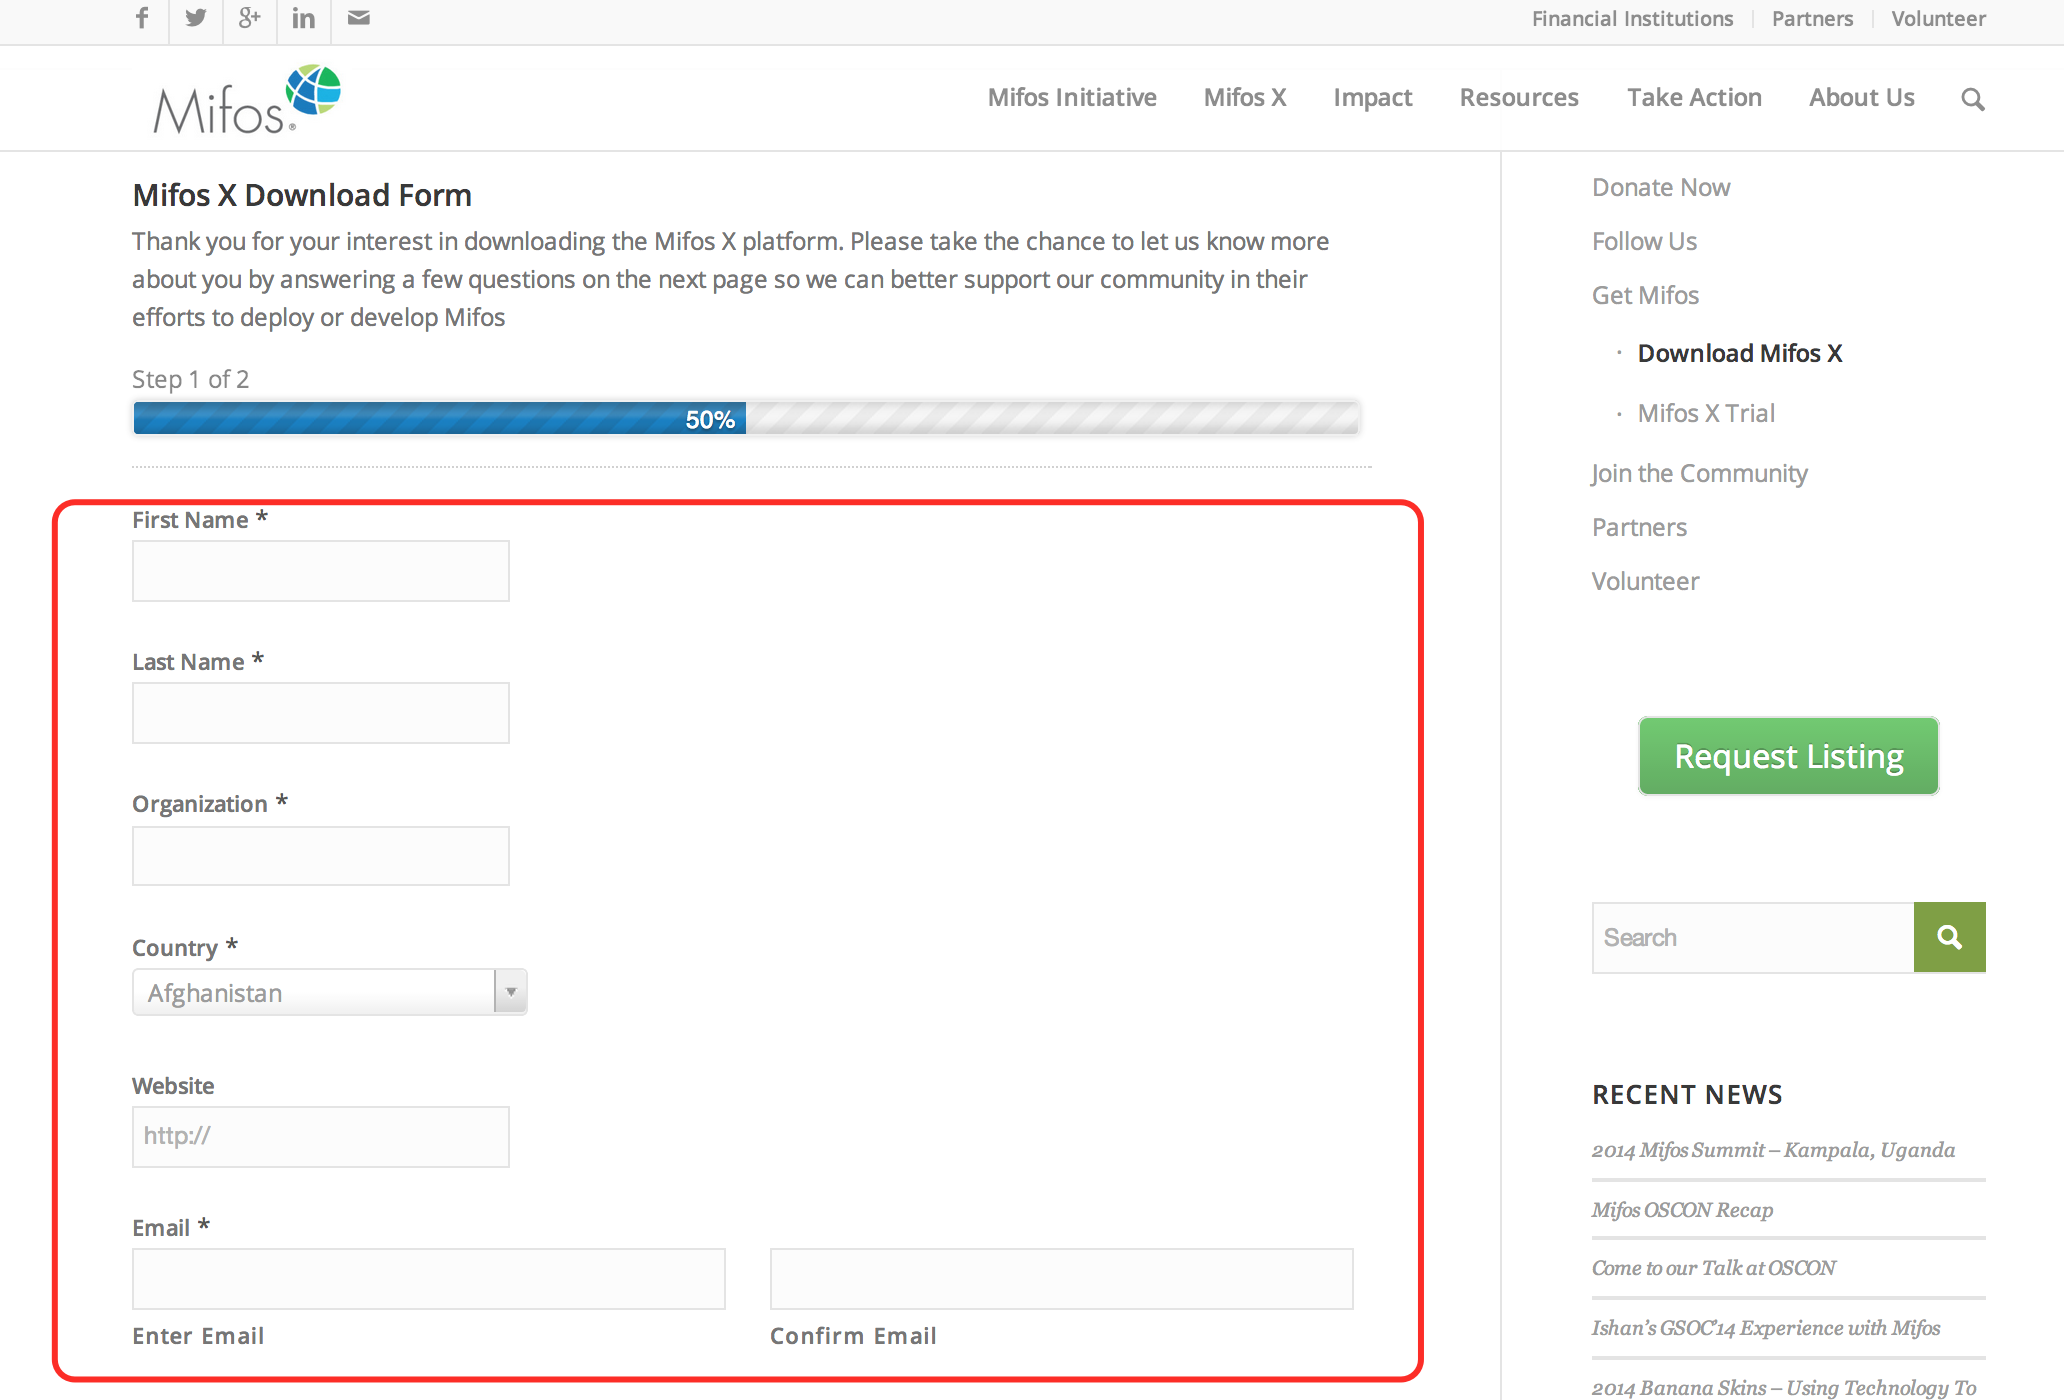
4) Kindly fill the Application form with basic information on Mifos Download FormFill out the Mifos Download Form with your information, then click the Next Page button. The download will start automatically.

(NOTE: You could skip this part, by going can skip the form by scrolling to the bottom of the page ,then click and clicking on:

No thanks. I would just like to download Mifos without providing additional information.) The download will automatically start.

However, we would like are able to understand & and serve you better if you can provide details of your organization details.


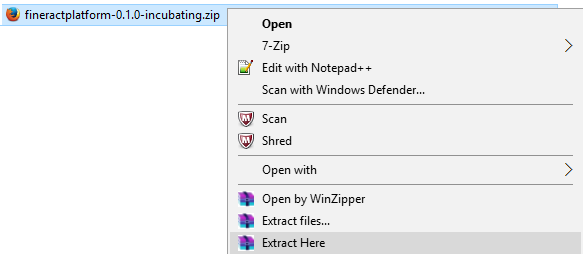
5) You will automatically navigate be redirected to a download page for Mifos on the Sourceforge website, where . Here you will be prompted to download a ZIP file containing the Mifos application files in a ZIP format.

NoteNOTE: - You could can also download other versions directly from:

https://sourceforge.net/projects/mifos/files/Mifos%20X/


6) Once you have download the Mifos ZIP file, extract it to a new folder on your computer.  Remember this location, as you will need to refer to it later. 

...

  •  Initialize MySQL data 

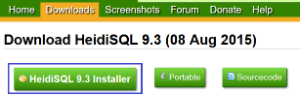
1) Download HEIDISQL from:- from http://www.heidisql.com/download.php & Save  and save the installation file to your computer.

2) Run the Heidisql installation file & setup Heidisql: 

i) For local - Provide mysql password as mysql

ii) Click on Save button.

iii) Click on open button. 


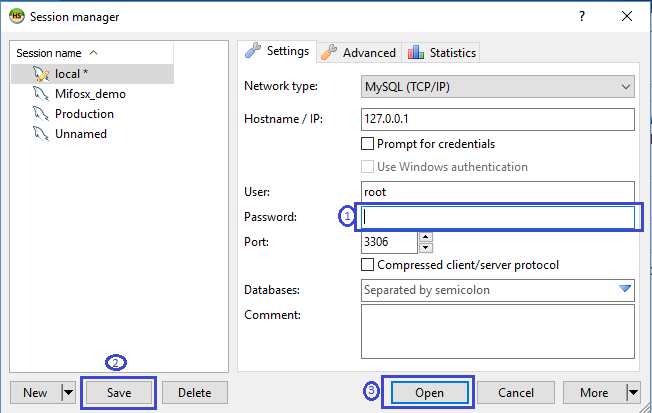
4) Copy the following database command and paste it into the large white box titled Query
create database `mifosplatform-tenants`; create database `mifostenant-default`; use `mifosplatform-tenants`;


5) Click on Run button to Execute the query. . 


6) On heidisql, click on File>>Load SQL file..

7) Through Load SQL file window,

  • Navigate to the location where you extracted the Mifos application files.
  • Navigate to the database folder, inside that location.
  • Select the file mifospltaform-tenants-first-time-install.sql and click Open.

Run the first-time-install script, by clicking Run Query button & once its successful close heidisql application.

...