- If want see
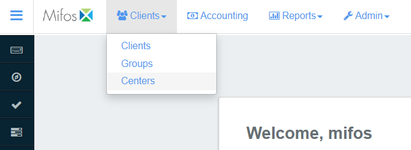
To view information related to Clients, Groups and Centers, click on the 'Clients' tab to see the following drop down menu which shows Clients, Groups and Centers sub-menu tabs.

- Clients Navigation:
To navigate to Clients, follow these steps:

i. Click on Clients sub-menu under the Clients tab to see the list of clients (as shown below).
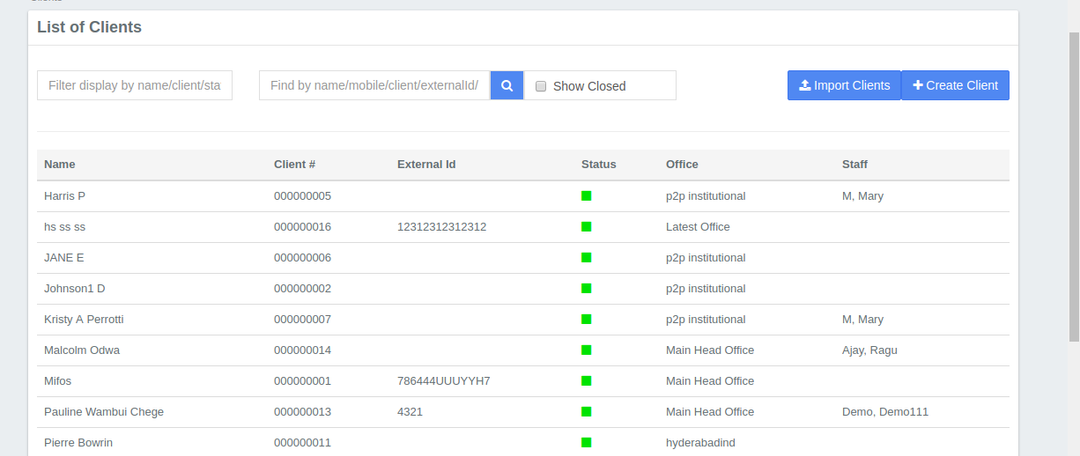
 ii. The Clients sub-menu tab shows A list of clients Clients will be displayed along with their nameNames, account numberAccount Numbers (client Client #), statusStatus, office Offices and staffStaff.
iii. It is provided with search menu using which The page also has a Search menu on the top where you can search the for clients by typing their nameNames.
iv. You can create a new client Client by clicking on the '+Create Client' button. button (Click here to see how to create client)
v. Client Clients within Mifos X).
v. You can import a Client by clicking on the 'Import Client' button which allows you to upload an Excel file containing the client's information from your computer. The following window appears when you click on 'Import Client':
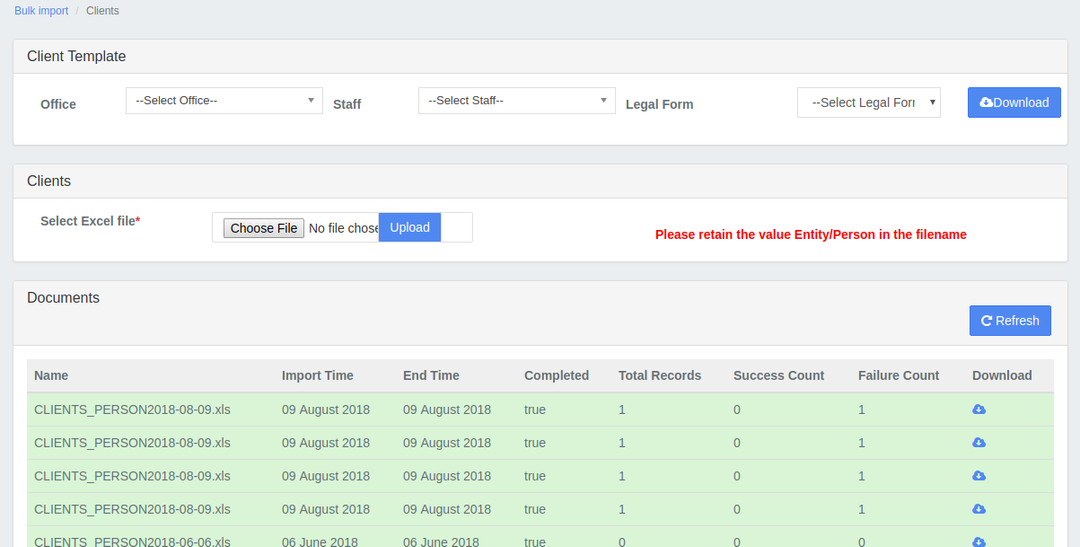
vi. Client Status may be Active, Pending or Closed.
vi vii. To see the more information regarding about any client ,that is his (including their personal profile, loan accounts and saving accounts, click on any particular client and the following window will appear..
 ), click on the client name. The following window will appear:
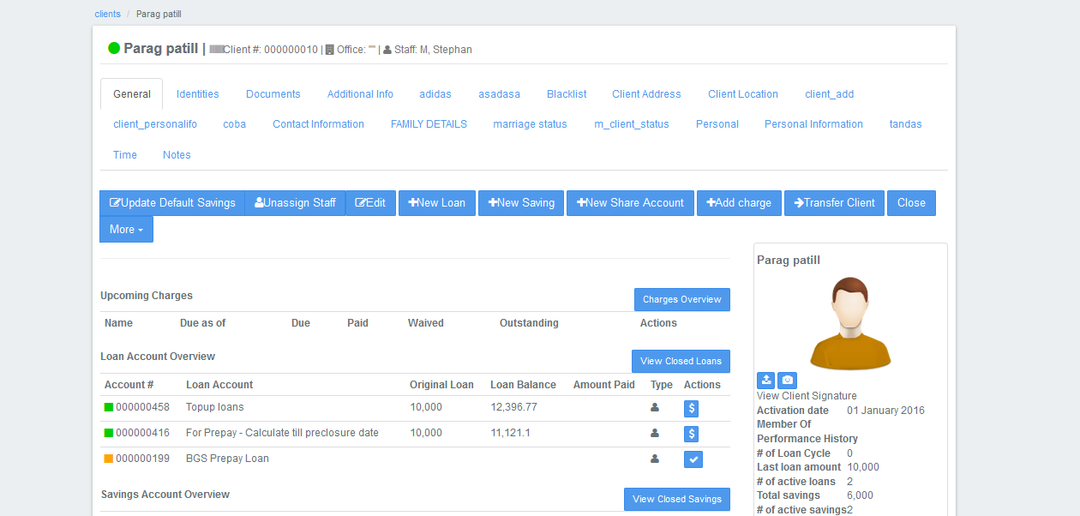
Groups Navigation:
i. Click on Clients button on the top menu and from the sub-menu that appears, click on Groups to see a list of groups (as shown below).
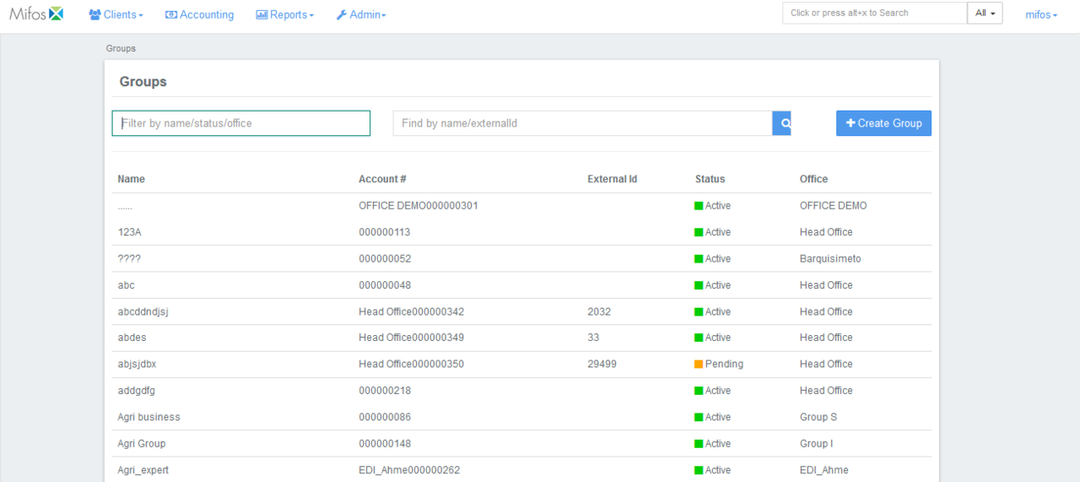
ii. It shows list of groups with their names, group status and their associated offices.
iii. Using the Search menu on the top of the page, you can search for specific groups by typing their name in the text field provided.
iv. To create a new group, click on the +Create Group button (Click Here to see how to create a group).
v. To view more information regarding any group, click on the name of the group. The following page will be displayed:
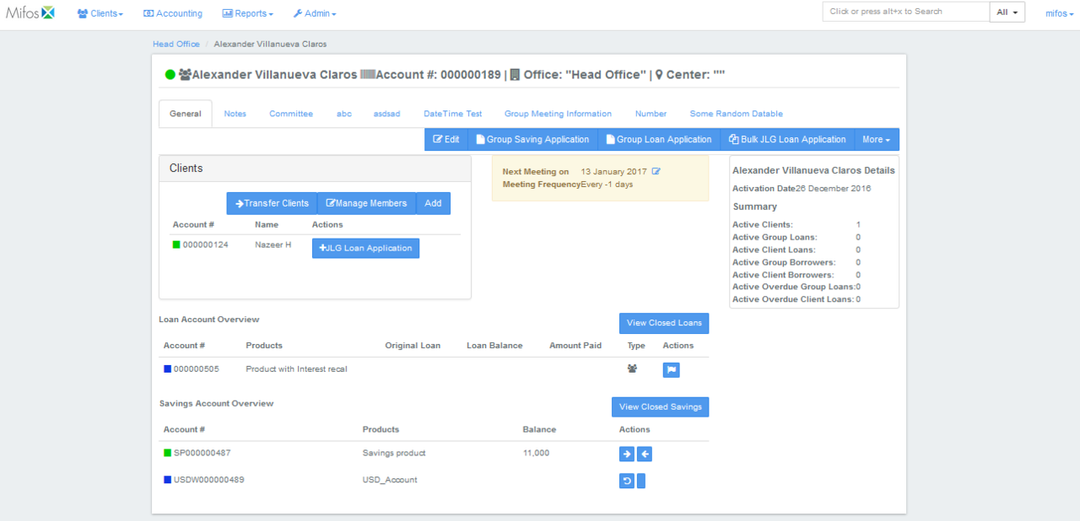
vi. The page shows a list of Clients in the Group, Group Meeting Information and Group Profile.
vii. You can create a JLG (Joint Liability Group) Loan Application for each client by clicking on the '+JLG Loan Application' button. For multiple clients, you can create the same by clicking on the 'Bulk JLG Loan Application' button (Click here to see how to create JLG Loan Application).
viii. You can create 'Group Saving Application' and 'Group Loan Application' on this page.
ix. Click Here to see how to create a Group Saving Application
x. Click Here to see how to create a Group Loan Application.Centers Navigation:
i. Click on the Clients button on the top menu and then click on Centers in the sub-menu that appears to see the list of centers as shown below.
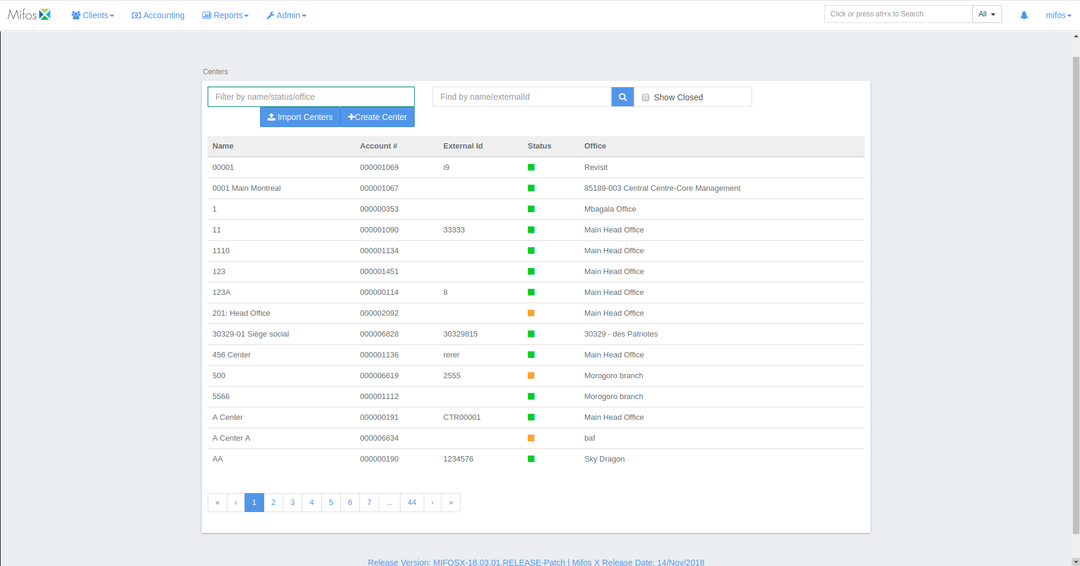
ii. The page displays a list of centers with their Name, Account #, External ID, Center Status and the Office it belongs to.
iii. Using the Search menu on the top of the page, you can search for a specific center by typing its name in the text field provided.
iv. To create a new center, click on '+Create Center' (Click Here to see how to create Center). You can import a center by clicking on 'Import Centers' button which allows you to upload an Excel file containing the center's information from your computer. The following window opens when you click on 'Import Centers':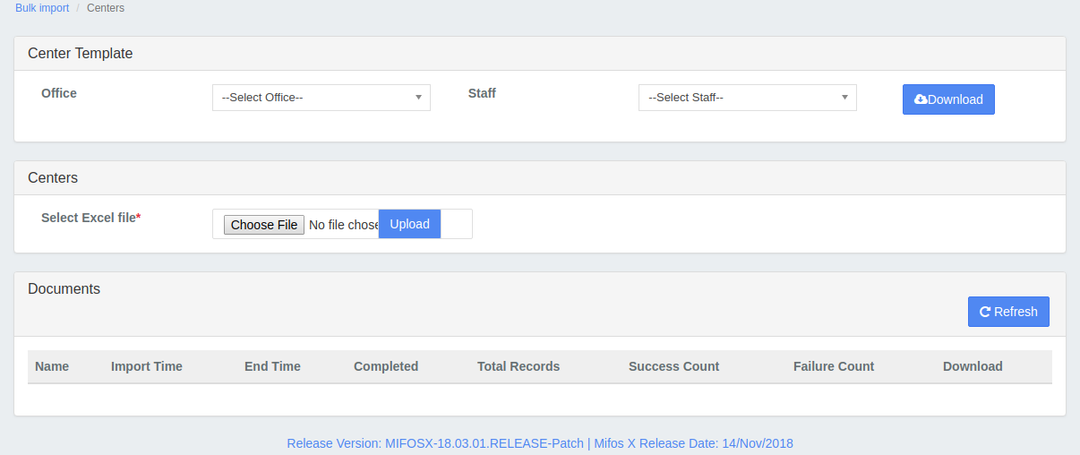
v.To view more information about any center, click on the name of the center. The following page will be displayed:
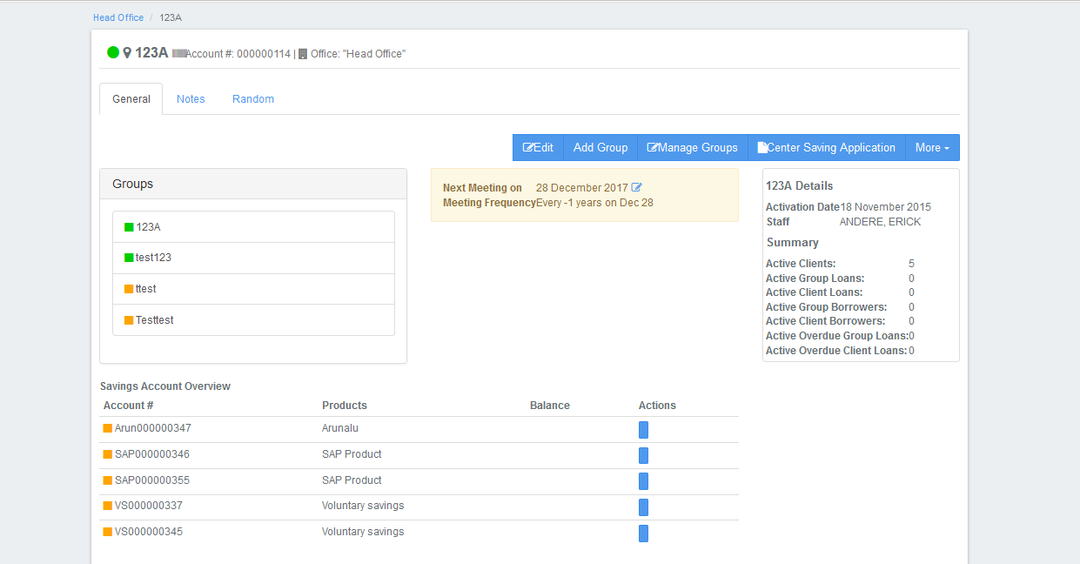
vi. This shows a list of Groups in the Center, Center Meeting information and the Center profile.
vii. To create a new Group under center, click on '+Add Group' .
.
viii. To add existing group to the center, click on 'Manage Groups' .
.
Page Comparison
Manage space
Manage content
Integrations