Manual Journal Entries vs. Automated Portfolio Postings
In Mifos X, the majority of accounting entries occur automatically based on your loan and savings product-level settings configured in Product Creation and Configuration. See also Loan Integration with Accounting.
Mifos X also supports manual entries against any general ledger (GL) account. You can manually post single journal entries or compound journal entries.
Single journal entries
To add a credit or debit journal entry, do the following:
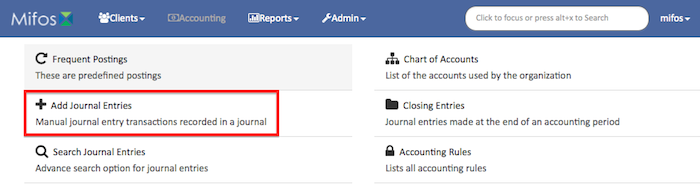
- On the Mifos toolbar, click Accounting to open the Accounting menu.

- On the Accounting menu, click Add Journal Entries to open the Add Journal Entry dialog box.
- In the Add Journal Entry dialog, enter your journal entry details:
NOTE: Items with a red asterisk (*) are required.- In the Office list, select the office where you want to add the journal entry.
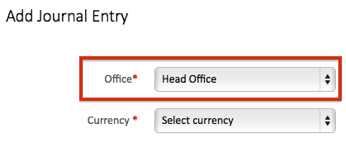
- In the Currency list, select the currency of the transaction.

- Under Affected GL entries, do one of the following:
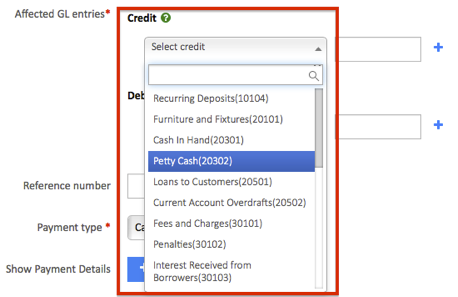
- To add a single credit entry to your general ledger (GL)
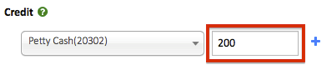
- In the Credit list, select the credit type for the journal entry.
- In the Amount box, enter amount you want to credit.
- In the Credit list, select the credit type for the journal entry.
- To add a single debit entry to your general ledger (GL)
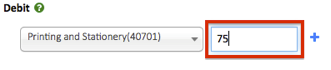
- In the Debit list, select the debit type for the journal entry.
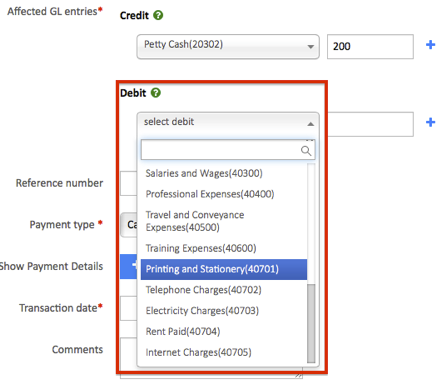
- In the Amount box, enter amount you want to debit.
- In the Debit list, select the debit type for the journal entry.
- To add a single credit entry to your general ledger (GL)
- In the Reference number box, you can enter a reference code.
NOTE: The Reference number box is optional.
- In the Payment type list, select the payment type for the journal entry.

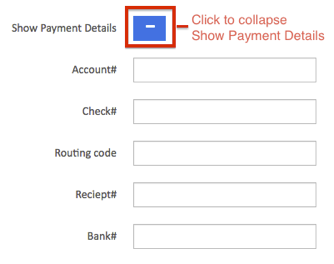
- Under Show Payment Details, you can enter banking details:
NOTE: Payment detail boxes are optional.- To expand Show Payment Details, click the plus button (+).

- Enter the Account#, Check#, Routing code, Receipt#, and Bank#. To collapse the Show Payment Details, click the minus button (-).
- To expand Show Payment Details, click the plus button (+).
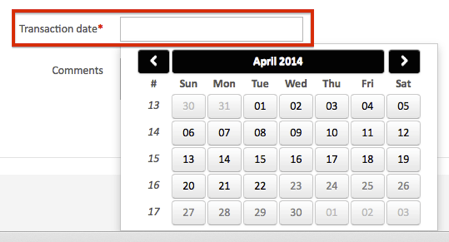
- In the Transaction date box, click in the box and then choose the date from the pop-up calendar. Use the left and right arrow keys beside the month and year to change the month.
- In the Office list, select the office where you want to add the journal entry.
- Click Submit to post your journal entry.
Compound journal entries
To add a journal entry with multiple credits or debits, do the following:
- On the Mifos toolbar, click Accounting to open the Accounting menu.
- On the Accounting menu, click Add Journal Entries to open the Add Journal Entry dialog box.
- In the Add Journal Entry dialog, enter your journal entry details:
NOTE: Items with a red asterisk (*) are required.- In the Office list, select the office where you want to add the journal entry.
- In the Currency list, select the currency of the transaction.
- Under Affected GL entries, add your journal entries:
- To add credit entries to your general ledger (GL)
- In the Credit list, select the credit type for the journal entry.
- In the Amount box, enter amount you want to credit.
- Click the plus button (+) to add another credit to your journal entry.
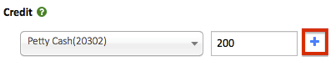
- Repeat until you have entered all credits for the journal entry.
- In the Credit list, select the credit type for the journal entry.
- To add debit entries to your general ledger (GL)
- In the Debit list, select the debit type for the journal entry.
- In the Amount box, enter amount you want to debit.
- Click the plus button (+) to add another debit to your journal entry.
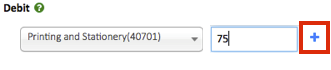
- Repeat until you have entered all debits for the journal entry.
Tip: To remove a credit or debit, click the (x) button to the right of the entry you want to delete.
- In the Debit list, select the debit type for the journal entry.
- To add credit entries to your general ledger (GL)
- In the Reference number box, you can enter a reference code.
NOTE: The Reference number box is optional.
- In the Payment type list, select the payment type for the journal entry.
- Under Show Payment Details, you can enter banking details:
NOTE: Payment details are optional.- To expand Show Payment Details, click the plus button (+).
- Enter the Account#, Check#, Routing code, Receipt#, and Bank#. To collapse Show Payment Details, click the minus button (-).
- To expand Show Payment Details, click the plus button (+).
- In the Transaction date box, click in the box and then choose the date from the pop-up calendar. Use the left and right arrow keys beside the month and year to change the month.
- In the Office list, select the office where you want to add the journal entry.
- Click Submit to post your journal entry.
Key Error Messages
Related articles