Development Environment Setup for AngularJS
Git
You can skip this step if you already have Git installed.
Direct downloads of large projects is discouraged as they lead to severe problems when trying to update the local files or the remote files in the repository. Git is a tool often used for version control and makes projects more organized while preventing data loss when changes are made both in the local and remote files.
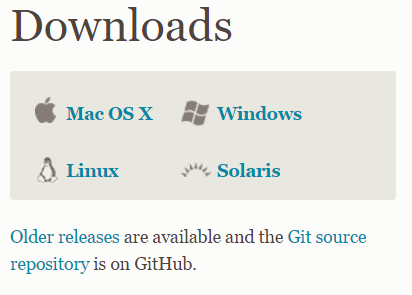
To get a local copy of the community-app that you can work on, you need to install Git. Git can be downloaded from https://git-scm.com/downloads after choosing your OS.
Follow the instructions of the installer until the installation is completed. You're now ready to "clone the repository", in other words get a local copy of the files.
Clone the repository
Depending on your OS and git installation, start the Command Prompt(Windows with Environment Variables set during installation), Terminal(all Linux-based) or Git Bash(Windows with standard Git installation) client.
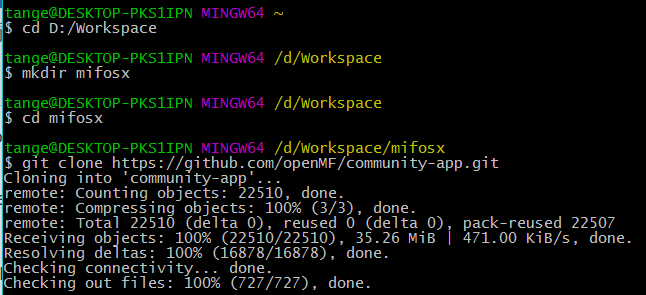
Move into the folder where you would like to clone the repository and use the "git clone" command to get the files from the Github repository. Git projects are divided to branches which contain different versions of the project. The default branch for the community app is "develop".
# directly move to the folder using
cd [folder address]
# or move folder by folder by repeatedly using
cd [folder name]
# or make a directory in the current directory using
mkdir [folder name]
# to clone the repository after you're inside the folder:
git clone https://github.com/openMF/community-app.git
The files are now in your computer but aren't ready for building and viewing in the browser yet.
Prepare to install the dependencies
The first prerequisite for installing the dependencies is npm.
If you're using Ubuntu:
# to install npm:
sudo apt-get install npm nodejs-legacy
# prevents from having to run npm as root every time:
npm config set prefix ~
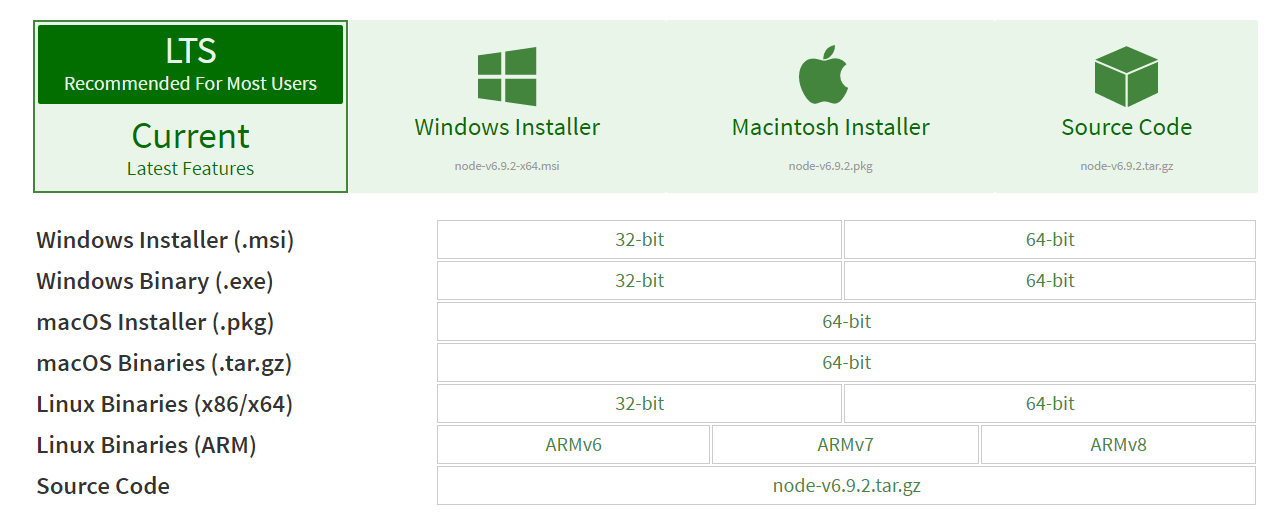
For other operating systems, download the npm installer from the node.js website. Follow the installer's instructions.
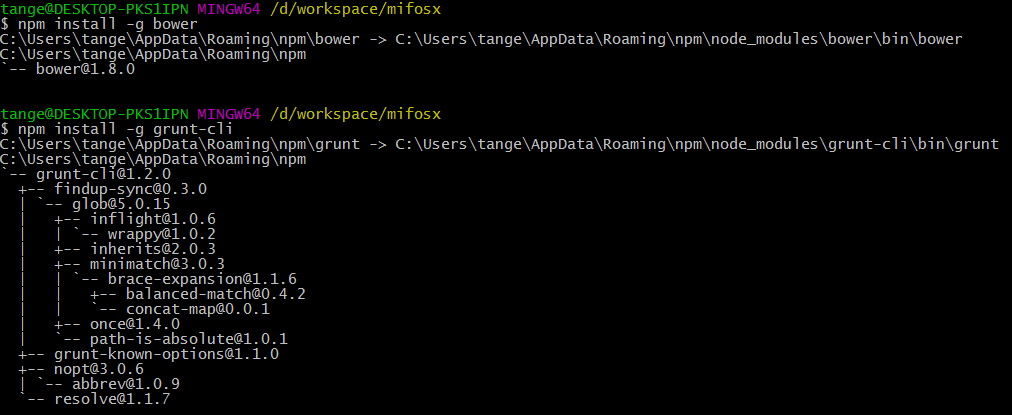
Return to the terminal. A reset might be necessary after installing npm. Install the bower and grunt packages.
npm install -g bower
npm install -g grunt-cli
These operations will probably take some time. After these are complete you're ready to install the dependencies.
Install the dependencies
To install the dependencies, move into the community app folder and install packages both with npm and bower.
cd community-app
bower install
npm install
Once again, these operations will probably take some time.
Preview the server
The app is now ready for building and viewing your work.
# Start the server:
grunt serve
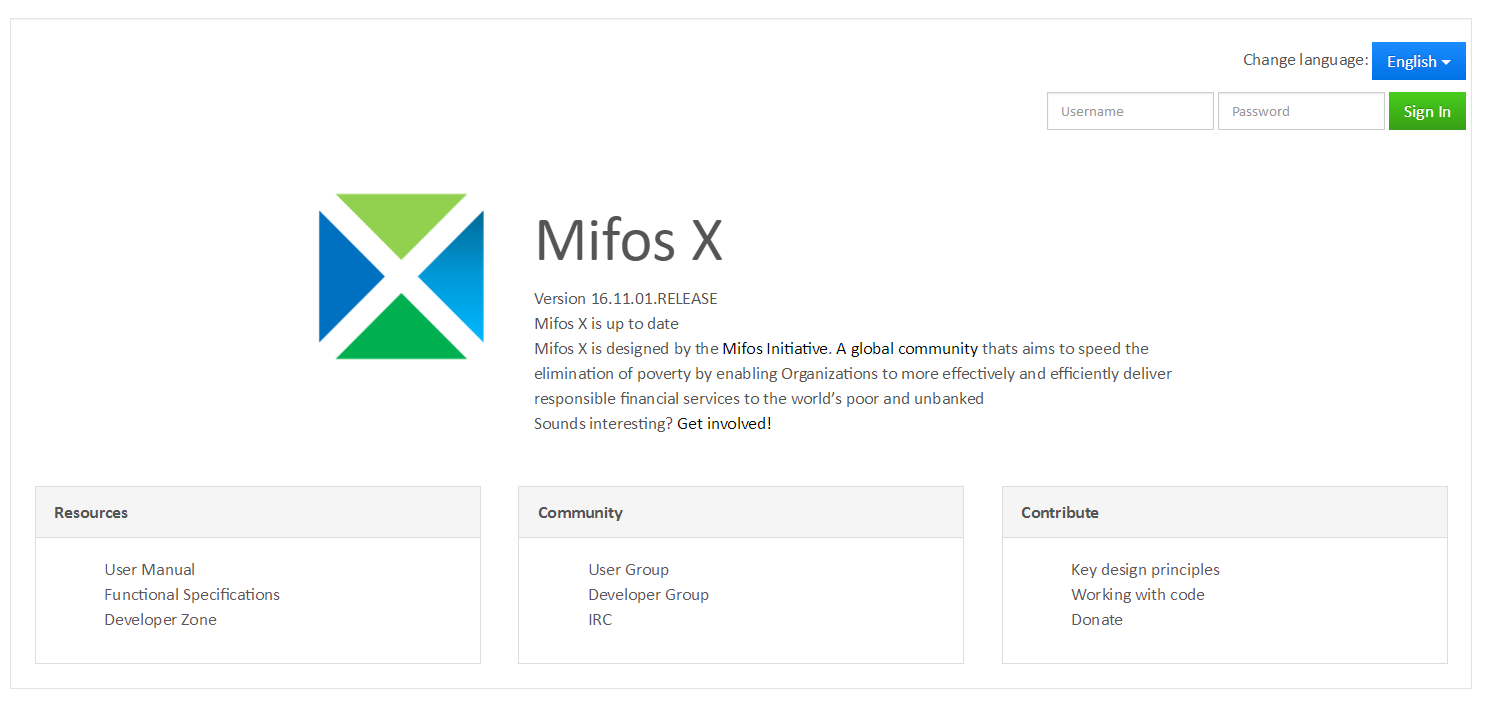
Grunt serve will make the server start listening and automatically open the webpage (http://localhost:9000/?baseApiUrl=https://demo.openmf.org#/) in the browser using the demo API. Closing the terminal will shut down the server.
The main page should look like this:
You can sign in using the default username and password to access the content.
Username: mifos Password: password
Continue working with the completed development environment
Now that your environment is complete, you can build the app for deployment if you'd like:
grunt prod
Check the Getting Started document for more information on important files making up the community app or the How to Contribute page for details on git.
