Create Savings Account
ATTENTION CODE-IN PARTICIPANT:
USE THIS TEMPLATE TO CREATE SLIDES: Code In Format.pptxCode In Format.pptx
After the client has been approved and the client account created in the system, an account may be opened.
Procedure
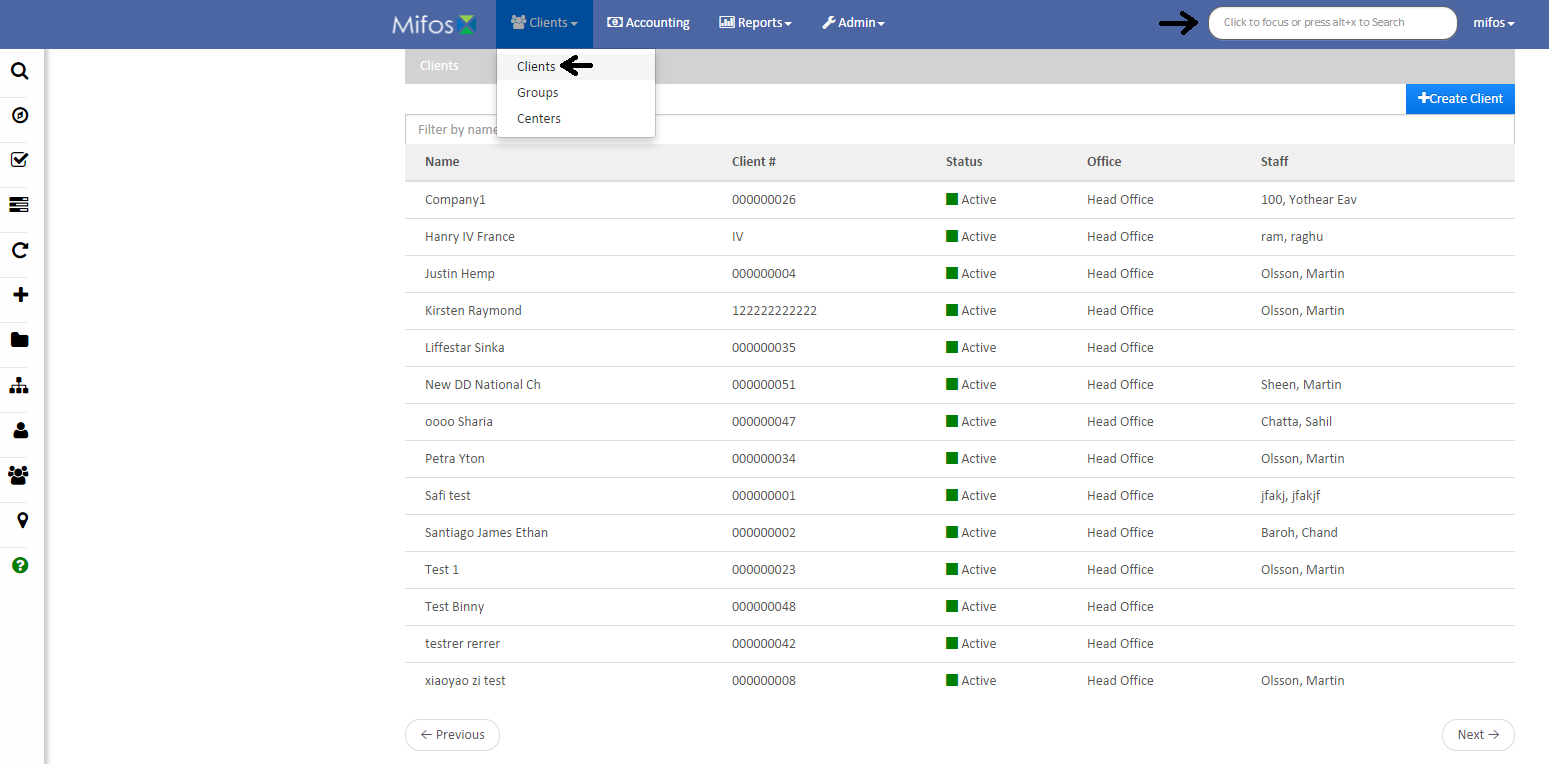
Select the account from the Client list OR use the search bar and key in the client’s name.

On the “General” tab, select +New Savings from the blue navigation bar.
From the drop down menu, select the type of account that is being opened.
Complete the fields on screen. Most of these will be pre-filled based on the organization’s product set up parameters. Press Submit.
Review the information on screen. If it is all correct, click on “Approve” in the blue navigation bar. (NOTE – VERIFY YOUR ORGANIZATION’S PROCEDURES AND ADJUST THIS PROCEDURE ACCORDINGLY.)
Enter the Approved On date. This will generally be the same date, however, the approval may be on a date prior, so verify the date and enter the correct date.
If there are any notes for the account, enter them in the “Note” field.
Review the information on screen and if it is correct, press “Submit.”
The system will return to the “General” screen. Click on the account OR click on the blue arrow in the “Actions” to make a deposit.
Enter the transaction date, the transaction amount and, using the drop down menu, select the payment type.
If your organization uses the “Show Payment Details”, enter the Account#, Cheque#, Routing code, Receipt and Bank#.
Review the information on the screen and if it is correct, press “Submit.”