Working with Loan Accounts
- Ishan Khanna
- Janiline Ebai
- Gabriel Esteban (Unlicensed)
- Justin Du
Owned by Ishan Khanna
Prerequisites: Logging in and Opening Clients:
Before you can make a repayment, you must do the following:
- You need to be logged in. (See Login/Logout)
- Once you are logged in, it should take you to a screen similar to the following:
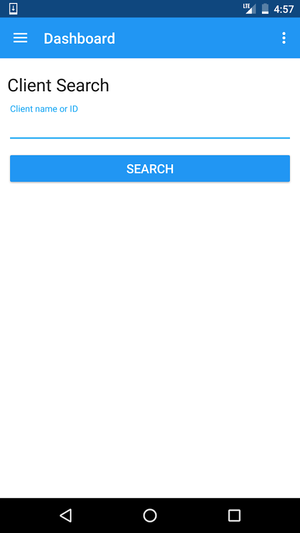
- Once you are logged in, it should take you to a screen similar to the following:
- Open a client whose loan you want to make a repayment to. (See Search & View Client Details)
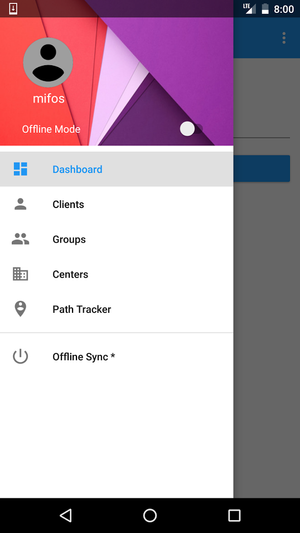
- To open a client, first tap the menu in the action bar at the top left corner (three lines). A menu should pop up as the following:
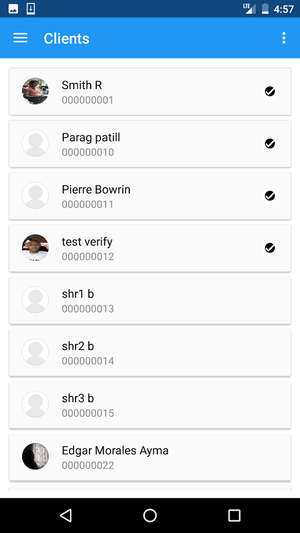
- Tap Clients. This will take you to a list of clients which you can select from. A sample list is shown below:
- From there, you can scroll through to find your client and select it. A sample client is shown below:
- To open a client, first tap the menu in the action bar at the top left corner (three lines). A menu should pop up as the following:
View Loan Account
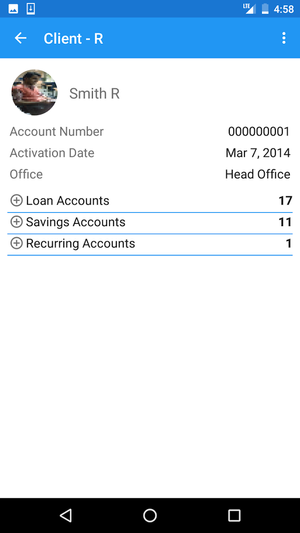
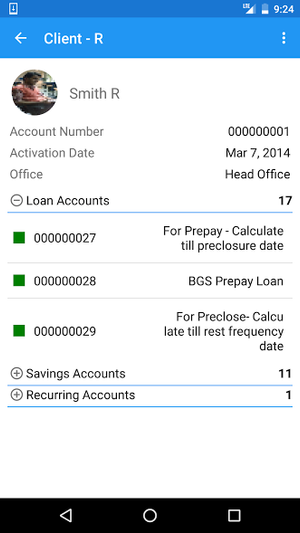
- Tap the plus button next to Loan Accounts to expand and view the loan accounts for the client. A sample screen is shown below:
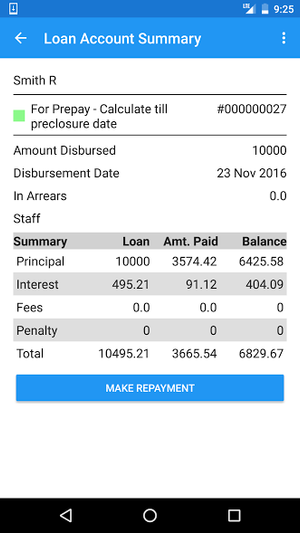
- Tap the loan account you want to view. It will take you the Summary page for that account, which will look like the following:
Make a Repayment
To make a repayment, do the following:
Following the steps to view a loan account, select the loan account you would like to make a repayment for. See above for a sample savings account summary:
- Tap the blue Make Repayment.
Fill out the necessary fields. A sample filled out screen is shown below:
Field Name (attribute) Description Example Validations (if applicable) Repayment Date Click on the date to select the date of transaction. By default it shows the current date. 1. Date should not be in the future. 2. Date should not be before the loan was disbursed. Payment Type From the drop down, choose the type of payment. Wire Transfer None Amount (A) Enter a non-negative and non-zero decimal number. This contains the Amount Due by default. 100.00 Amount should be (less than or equal to)>= 0 Additional Payment (B) Any additional payment you would like to record with that repayment. This is 0 by default. 0.0 Amount should be (less than or equal to) >= 0 Fees (C) Any fees applicable at the time of the payment. 0.0 Amount should be (less than or equal to) >= 0 Total (A+B+C) Non-editable field. It shows the sum of the Amount, Additional Payment, and Fees. It updates in real time. 100.00 N/A 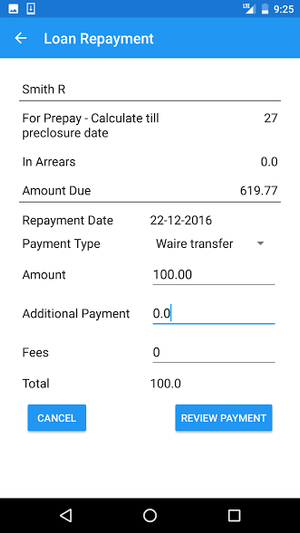
- Tap Review Payment when you are done. You can click on the Back Button to make any changes and reconfirm. It will bring up a dialog where you must confirm the payment. It will look like the following screen:
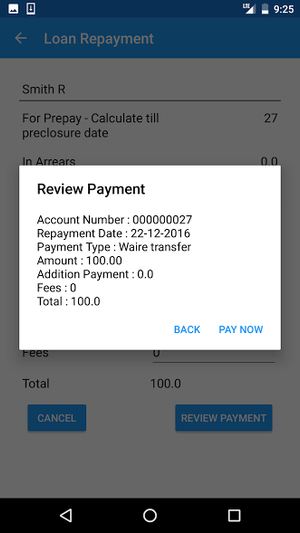
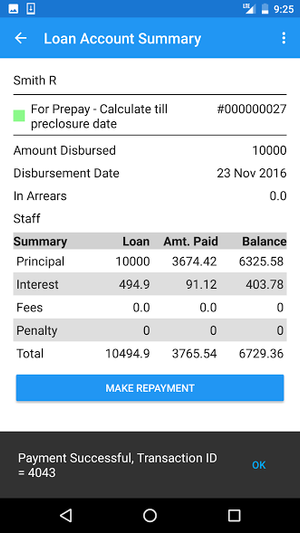
- Tap Pay Now. You will get a success message if the repayment was successful, as well as the Transaction ID. It should look like the following:
Related Articles