Working with Center Lists
- Gabriel Esteban (Unlicensed)
- Tanuj Dabas
- Hashir Safdar
Owned by Gabriel Esteban (Unlicensed)
Opening the centers list
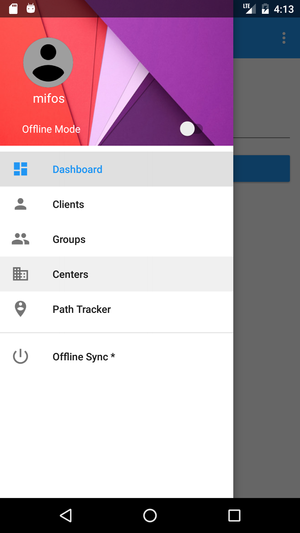
- Once you have logged in, you can open the side navigation drawer by sliding in your finger from the left, or by tapping the three lines in the top-left corner as shown in the image below:
- You can open the Centers List by tapping on 'Centers' as shown below:
Checking groups and group members
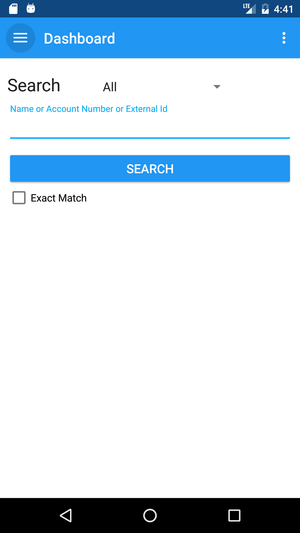
- Once you are in the centers list, you can search a center using the search button in the top right or scrolling down the list:
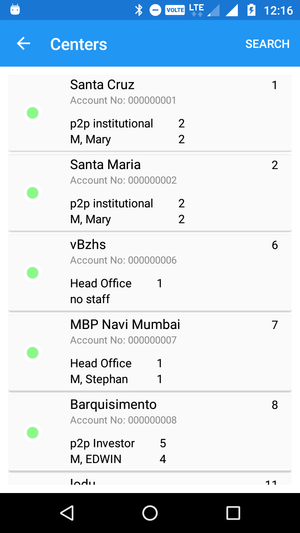
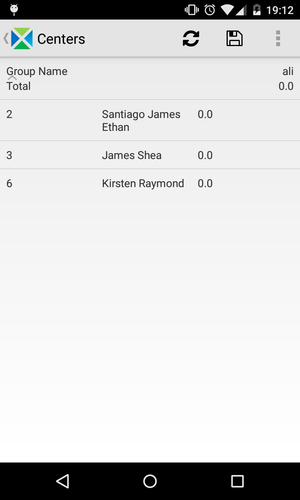
- Once you have found the center which you are interested in, you can tap on it, and get access to the different groups:
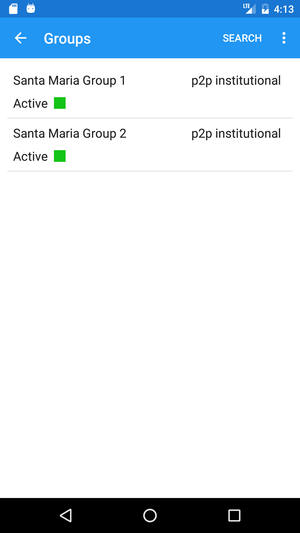
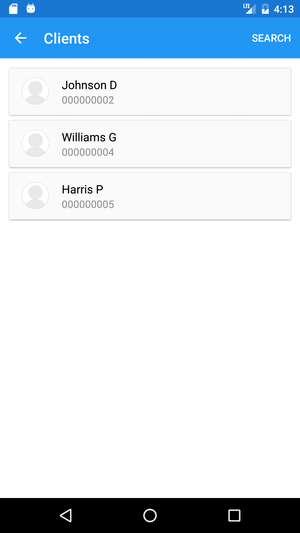
- Furthermore, if you want to know more about the group members, you can tap on the group name and the lists of clients will appear:
Checking visits and updating payments
Furthermore, you can check if you have meetings in a center on any particular date through the following steps:
- Once you have opened the centers list, you can search a center by using the Search button or by scrolling down the list:
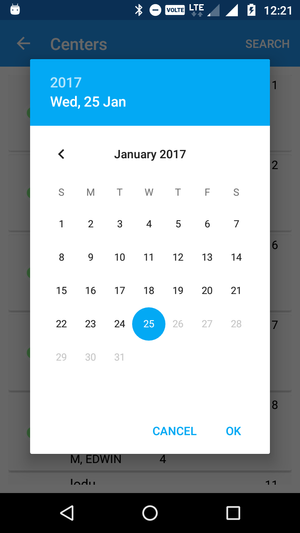
If you tap and hold on a center, a date picker will appear. You can check meetings by selecting a date and tapping 'OK'.
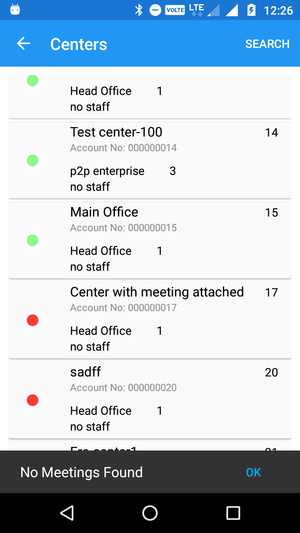
If No Meeting is found, then you will get this Snack Bar message: "No Meeting Found" (shown in the screenshot below):
If there exists any meeting, then you should see the list of your meetings, and you'll be able to update the payments:
- Once you have updated the payments, you can save it by clicking on the Save button on the action bar. You can check that it is saved by refreshing this collection sheets (you should use the refresh button on the action bar).
Related articles
Related articles appear here based on the labels you select. Click to edit the macro and add or change labels.