Teller / Cashier Management
From the main screen, click on Admin then Organization from the drop down list. This will launch the Organization menu.
Select Teller/Cashier Management
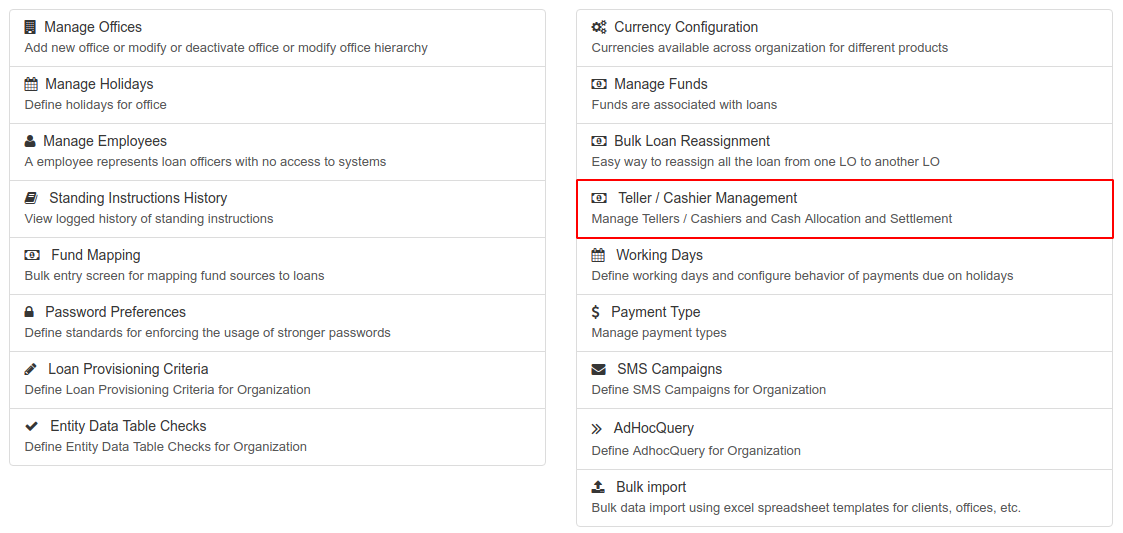
TIP: Before setting up tellers, check the Financial Activity Mappings located under Accounting and then map the main cash account to the bank account as well as map the cash at tellers GL to the change fund GL.
Add Financial Activity Mapping

Select Accounting from the main tab and then select Accounts Linked to Financial Activities
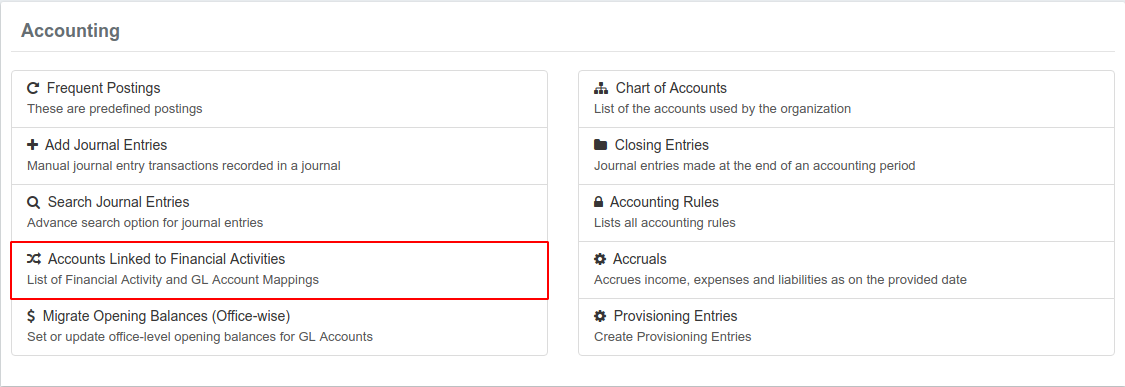
This opens a page that displays the financial Activity of an account and the Account name.
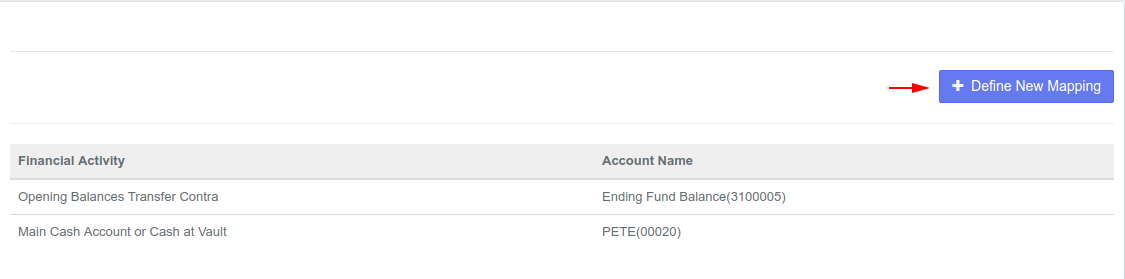
Click on the blue Define New Mapping button at the top-right to add a financial activity mapping.
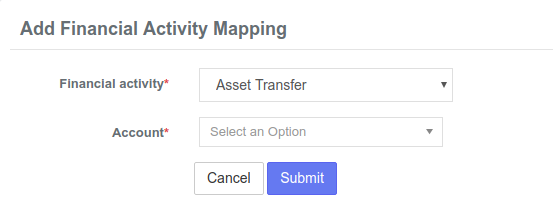
For Financial activity, select Cash at Tellers/Cashiers from the Asset Transfer drop-down list. Also select the Account whose financial activity you want to map.
Click the Submit button.
example financial configuration
Add Teller
See the first section to navigate to to the Teller/Cashier Management page.
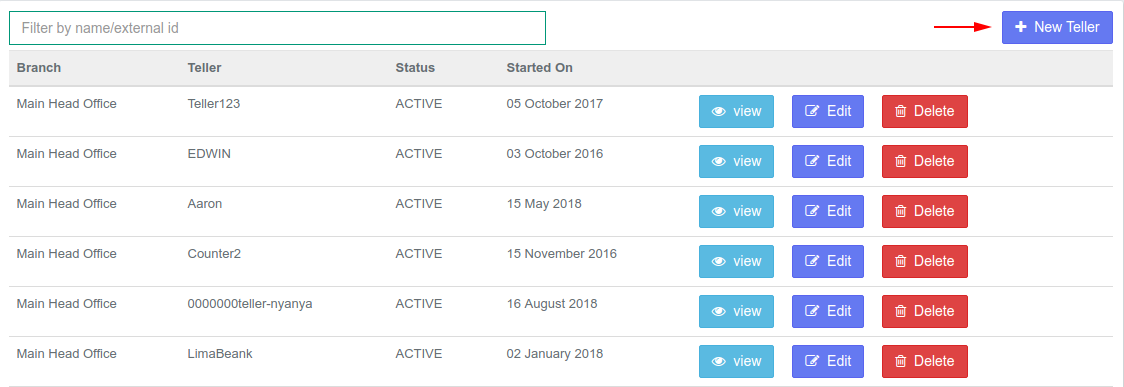
A list of current tellers is displayed with their branch, status and start date. To add a teller, click on the blue +New Teller button at the top-right.
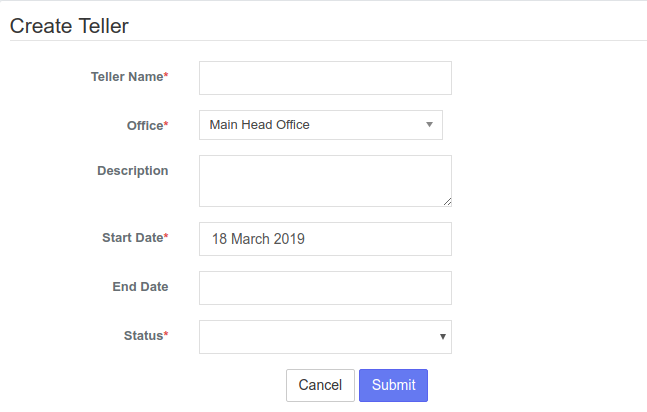
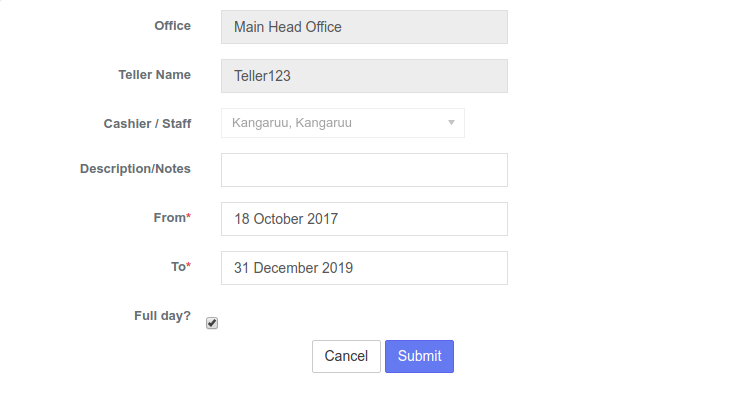
Provide Teller details with dates and also ensure to select status as "Active" in-case you want to enable that. Otherwise you could disable it by selecting "In-active".
Click the Submit button.
Add a new Cashier for Teller
On Tellers page, select a Teller. This will display an empty list if the teller was not assigned a cashier.

Click on the + New Cashier For Teller button on the top-right.
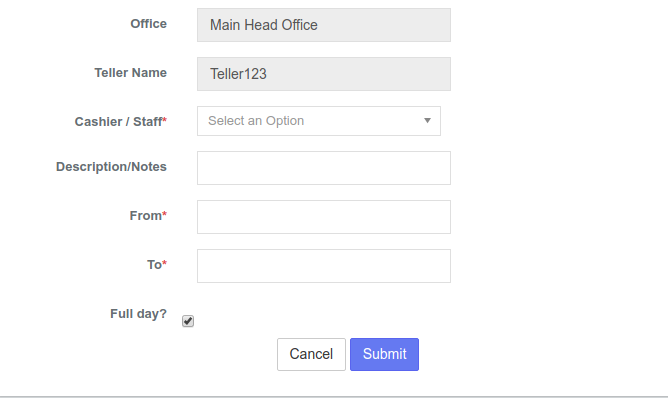
Select the Cashier or Staff member you want to assign to that teller. This cashier should have been defined in the Manage Employees section.
Provide the dates within which the cashier is assigned to the teller.
Click on Submit button.
Edit Cashier
Select the ![]() button on the Cashier page. This will display the details of the Cashier.
button on the Cashier page. This will display the details of the Cashier.
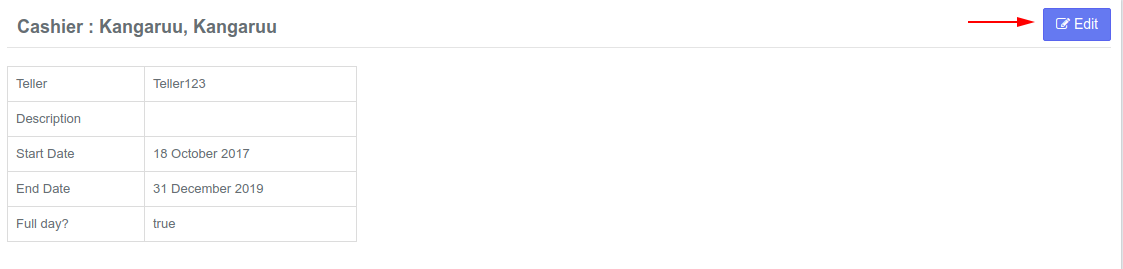
Select the Edit Button at the top-right which will display a page that will permit you to edit.
After editing, click the Submit button.
View Teller transactions
On Tellers page, select a Teller. This will display details of the teller such as the cashiers who worked on that teller and the period they worked.

Click the first blue button to be able to view the transactions of that cashier.
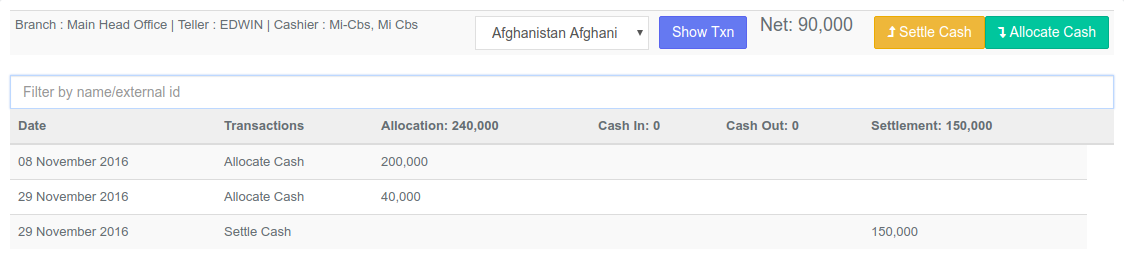
This will display the details of transactions that occurred under that cashier.
Allocating Cash
Select the  button from the Cashiers page and this will display the Allocate Cash page.
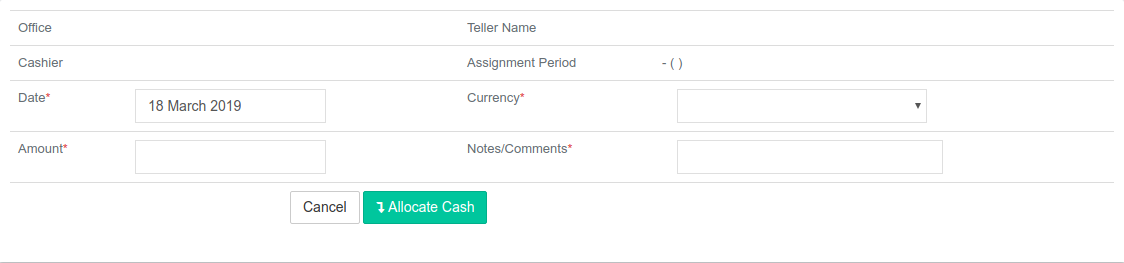
Select date and currency, and provide amount value and notes.
Click the Allocate Cash button to submit.
Settling Cash
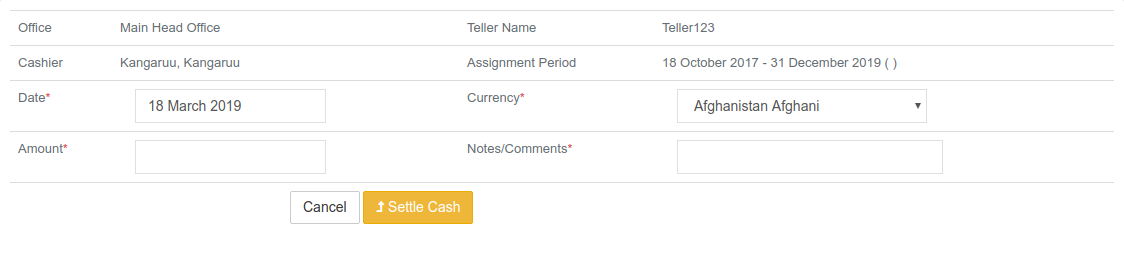
Select the  button from the Cashiers page which will display the Settle Cash Page.
Transaction settings for auto debit from the cashier drawer
While Adding Cashiers in the system Each Cashier has to be mapped to an Employee, and that employee has to be mapped to a User(cashier->Employee->User), then any transaction done by that user will reflect under that cashier
Transaction setting for auto debit from the cashier Drawer
IMPORTANT: Transaction settings for auto debit from the cashier drawer
While Adding Cashiers in the system Each Cashier has to be mapped to an Employee, and that employee has to be mapped to a User (as a staff)
So the relationship link should be :- cashier->Employee->User, then any transaction done by that user will reflect under that cashier account.
Select the date and currency, and provide the amount and notes on the Settle Cash page.
Click the Settle Cash button